Minute 1: how xTiles is built
Everything in xTiles sits in five levels, from the largest to the smallest. Once you know them, every button makes sense.
- Spaces are the largest units and work like folders for projects. A space is either Personal or Shared. Your first, default space already holds My Planner.
- Projects live inside spaces and are the main folders for your content. Each project holds pages.
- Pages are the visual canvas inside a project, where you add and arrange tiles.
- Tiles are flexible containers on a page for text, lists, images, videos and other media.
- Blocks are the smallest elements inside a tile: text, lists, tables, images, videos and code.
The full reference is in the help center: Structure of xTiles: spaces and projects.
Minutes 2–3: create a space and your first project
1. Create a space
All spaces are listed on the left side of the screen. Click the plus button there, enter a name, upload an image and click Create. Use a Personal space for your own plans, or a Shared space if you will invite teammates, friends or family.
2. Create a project
Open the space and click + New Project in the top-right corner. Choose Start from Scratch or Create with AI. The project starts with one page.
3. Give it a cover
Hover over the cover to pick a preset, choose an Unsplash image or upload your own.
Project settings also let you rename, copy a link, duplicate or add the project to Favorites. To move a project to another space, use Move to or drag it there.
Minutes 4–6: pages, tiles and blocks
Pages
Click the plus button next to the project's last page, choose Blank page and name it. Drag page tabs to reorder them. The three-dot menu next to a page tab holds the rest: rename, duplicate, copy link, Copy To, Save as Template, Publish Page, tab color, export to PDF, image or Markdown, archive and delete.
Tiles
Double-click the canvas for a standard-size tile, or click and drag to draw one of any size. Move and resize tiles at any time. The palette icon in the top-right corner of a tile sets its icon, title, style and color. The expand arrows open the tile in Focus Mode.
To work with several tiles at once, hold Shift, click them and choose Group Tiles.
Blocks
Click inside a tile and start typing, or press / to open the command list. Drag a block by its six-dot handle to move it within a tile or into another one.
Two block actions are worth learning on day one. Setting an assignee or a due date from the block menu turns the block into a task. And the expand icon on a block turns it into a note, a subpage or a subproject, so a single line can grow into its own space when it needs to.
Minutes 7–8: My Planner
My Planner is at the top of the left sidebar, and the book icon in the top bar jumps to the current period from anywhere in the app. It gathers tasks, notes and events from all your spaces, organized by date.
- Switch the period with the Period Selector: Daily, Weekly, Monthly, Quarterly or Yearly.
- Tasks find their day. A task created in a day's task tile gets that date. A task with a due date set anywhere else in xTiles appears under the matching day.
- Schedule tile. In the Daily and Weekly views it shows your tasks and calendar events on a timeline. Connect Google Calendar or Outlook Calendar to see events there.
- Templates per period. Click the Template icon in the left toolbar to pick a layout for the daily, weekly or other periods. It applies to future pages of that period.
More detail is in the help center: How to use My Planner.
Minutes 9–10: start from a template, then connect AI
Instead of building your first project from a blank page, open the template gallery and pick something close to what you need. Rename the tiles, delete what you do not use, and you have a working project in a few minutes.
If you use Claude or ChatGPT, connect them to xTiles so the assistant can read and build your projects. The setup is covered step by step in connecting Claude to your planner and the ChatGPT plugin for xTiles.
Four templates to start with
All four are free in the xTiles template gallery and show the structure from this tutorial in use: pages as tabs, tiles on a canvas, tasks inside tiles.
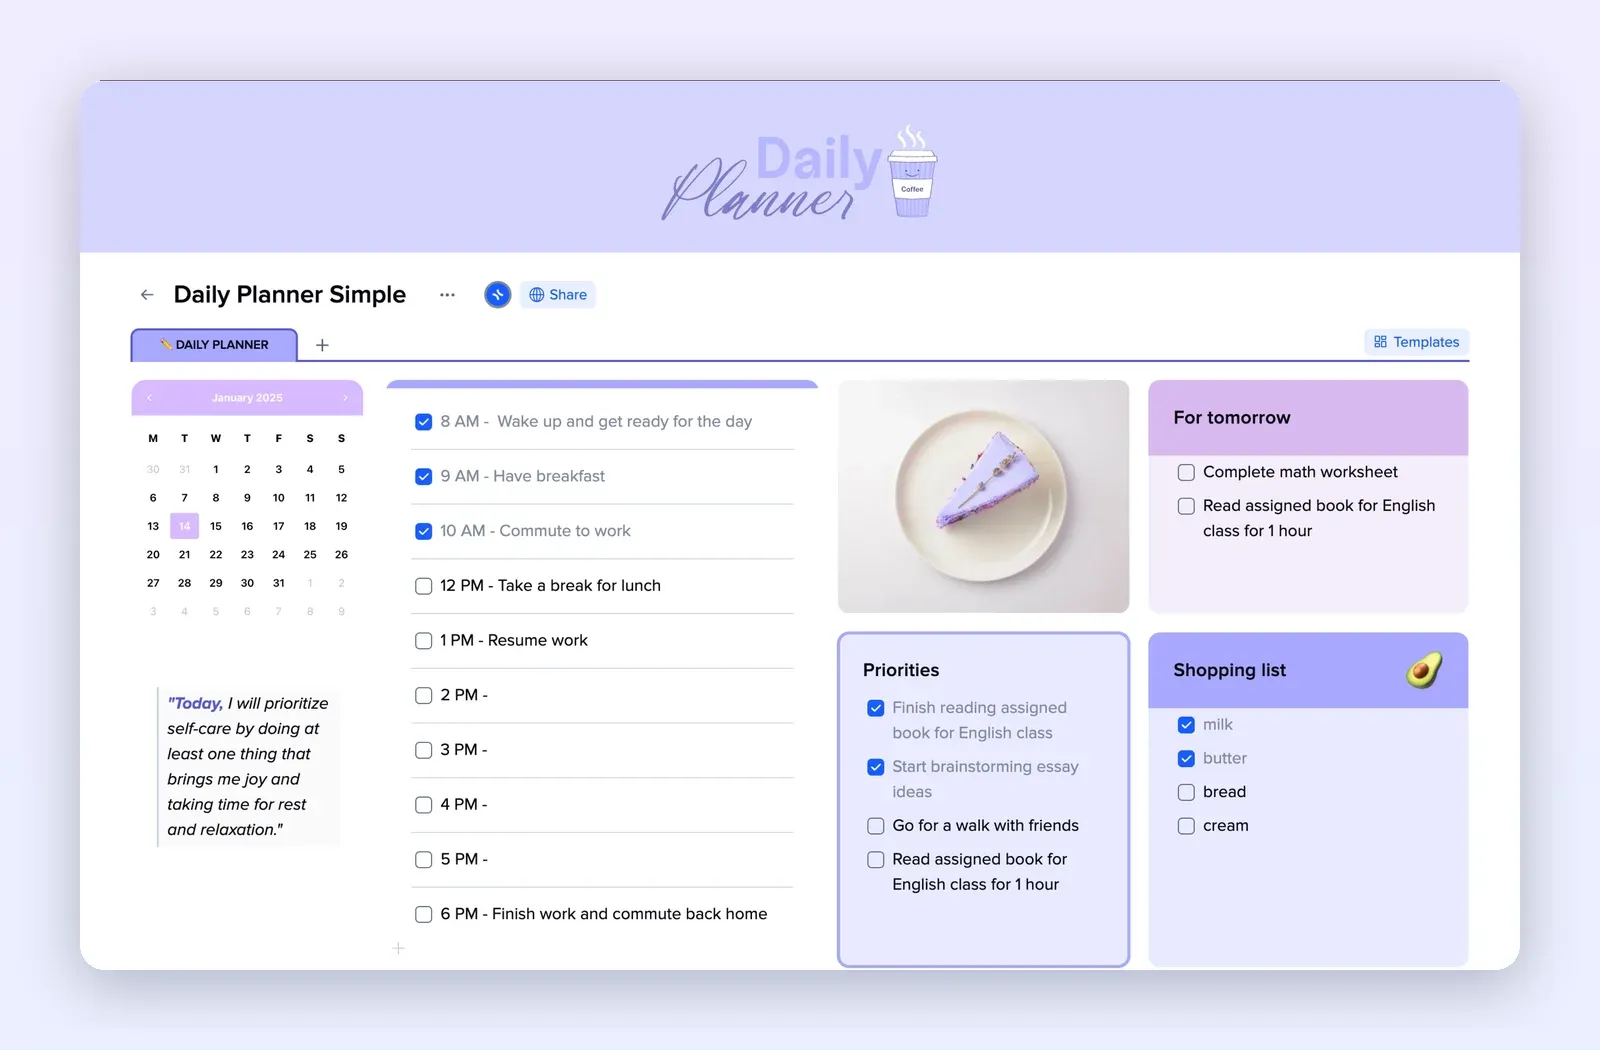
1. Personal, projects and tasks: a home base
Tabs for main, planner, self-growth, finance, diet and more, with a schedule, quick links and links to weekly, monthly and yearly planners. A good first project for a Personal space. Open the Personal Workspace template.
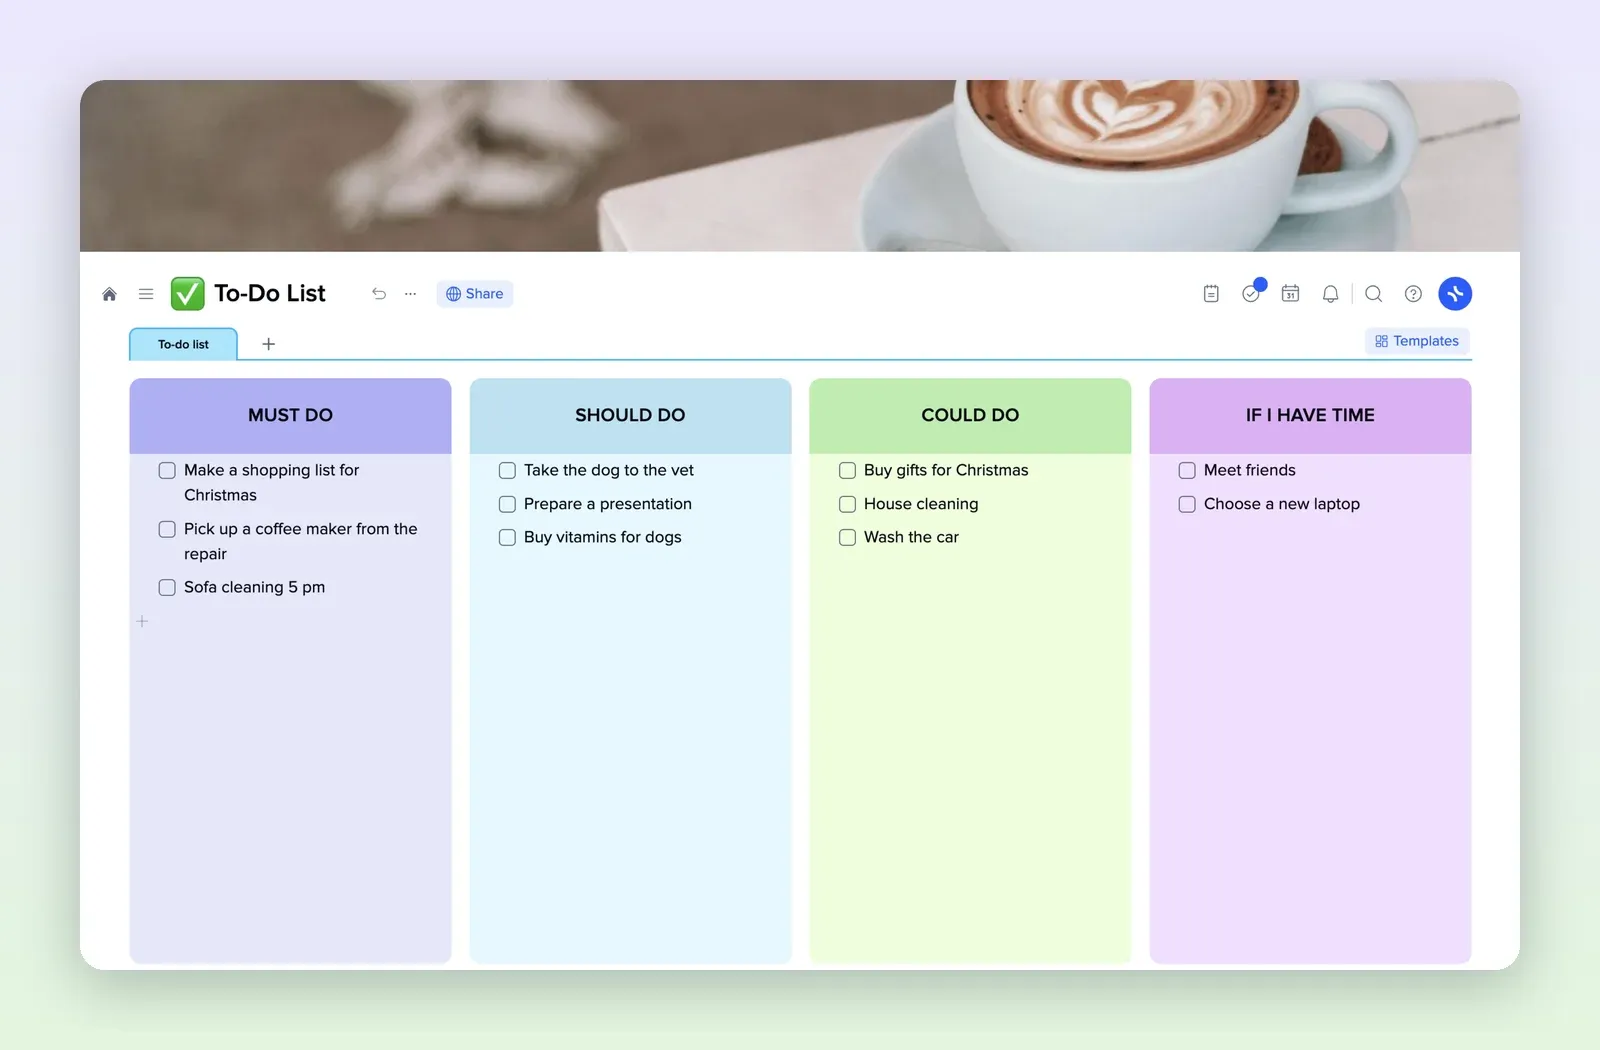
2. Project Plan: one project, several pages
Pages for overview, budget, plan and tasks, brief and invoice, with tiles for description, goals, deliverables and scope. Shows how one project splits into pages. Open the Project Plan template.
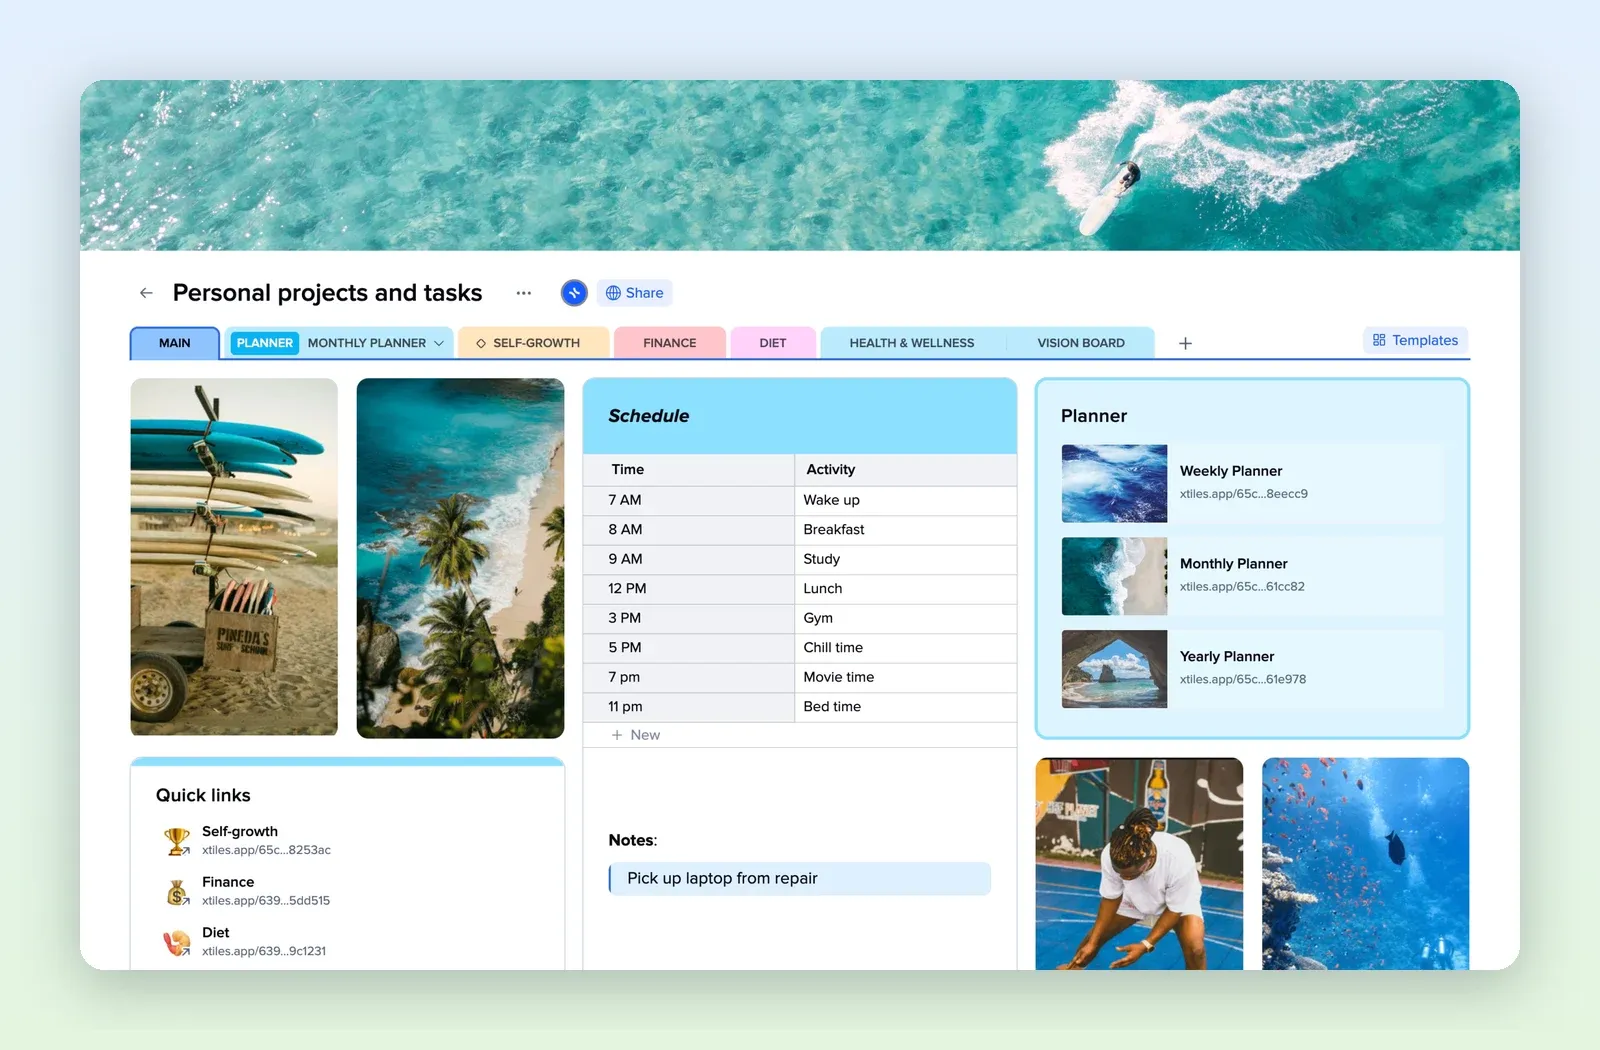
3. Daily Planner Simple: a day on one page
A mini calendar, an hour-by-hour schedule, priorities, a list for tomorrow, a shopping list and space for reflection. Open Daily Planner Simple.
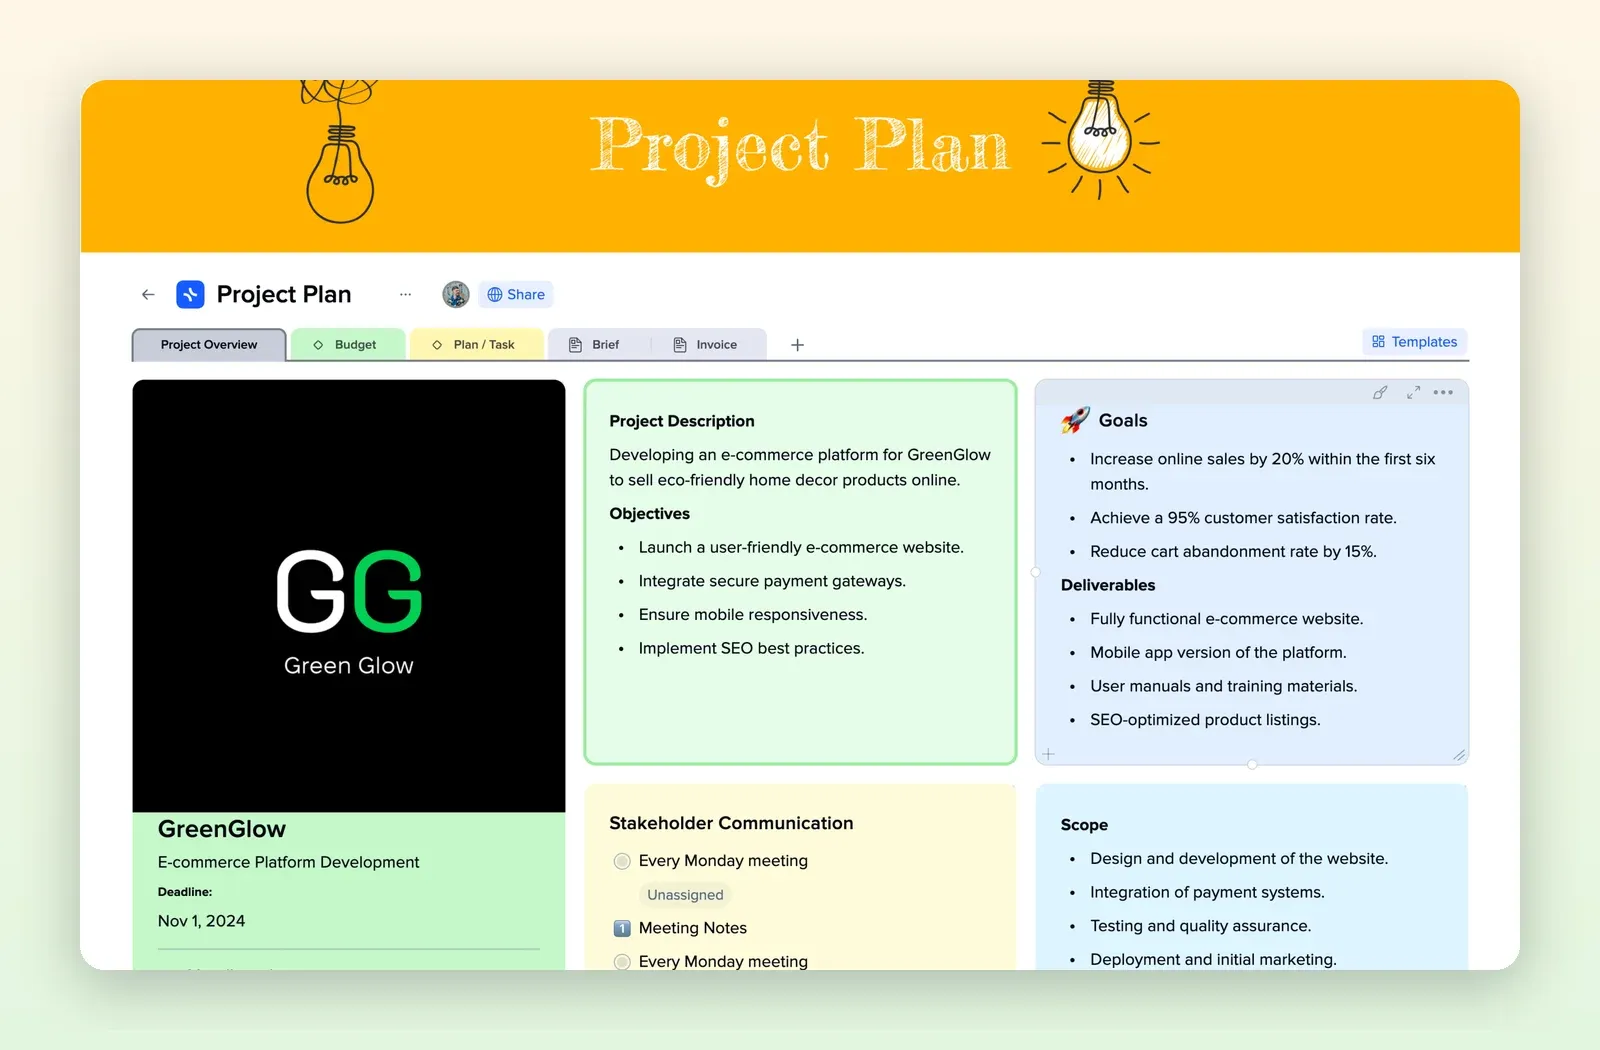
4. To-Do List: tasks in four columns
Must do, should do, could do and if I have time, each as its own tile with checkboxes. The quickest way to see tiles and tasks working together. Open the To-Do List template.