What a coaching client portal has to do
A coaching client portal is one place per client with everything about your work together: agreed terms, scheduled sessions, session notes, homework and the resources you recommend. The client opens it between sessions; you update it after each one.
Jayme, a coach, came back to xTiles after about a year and a half for exactly this. The client-portal tools Jayme had tried were either too expensive or did not fit the way the coaching works. The list of requirements was short:
- Each client sees only their own portal. John never sees Rebecca's notes.
- Some information is locked. Rates and the number of sessions left are set by the coach, not edited by the client.
- Other pages are open. The client can leave thoughts and questions to talk about in the next session.
- The coach sees everything in one place, without opening each client's portal one by one.
Step 1: one project per client
In xTiles the portal is a project. Create one project for each client, with pages for the welcome information, session notes, action items and resources.
- Create a project for the client, for example "John: coaching portal".
- Add the pages you use with every client: Welcome, Session notes, Between sessions, Resources.
- Invite the client by email. The client creates an xTiles account, which can be done with Google or Apple ID, and sees only the projects shared with them.
- Choose the access level: can view, can comment or can edit. For the working portal, give edit access so the client can write between sessions.
Repeat for the next client. Rebecca gets a separate project and a separate invite, so the two portals never overlap.
Step 2: keep the terms page view-only for the client
The tricky part is the first page: client details, strengths, scheduled sessions and the rate per session. The client should see it, but not change it. Here is the setup Jayme chose on our call:
1. Make a separate project for all client info pages
Create one project on your side, for example "Client info", and put each client's terms page in it. Invite each client to it with can view access.
2. Copy the client's info page
Open the page's three-dot menu and use the copy option.
3. Paste it into the client's portal as a linked page
In the client's portal project, paste the page and choose a linked page instead of an independent copy. A linked page stays in sync with the original, so when you update the sessions left, the portal shows the new number. Move it to the top so it is the first thing the client sees.
4. Check it from a test account
Before you invite a real client, open the portal from a second account with the same access the client will have, and check which pages can be edited.
Jayme liked this more than a per-page lock: every client's info page lives in one project on the coach's side, so all of them can be reviewed at the same time. Linked pages are part of the Plus plan.
"So that I can view all of them at the same time."
Step 3: give the client pages to work in between sessions
The rest of the portal is where the client works. A page for thoughts before the next session, a page of homework or worksheets, and a page of resources you recommend.
This is also where templates help. When a topic comes up in a session, you can add a template from the gallery to the client's portal and say: we talked about this, here is a page to work through it. In Jayme's words, being able to recommend templates to clients is part of what makes the portal attractive.
Tasks with a due date appear in My Planner on that day, so the action items you write in each portal show up on your planner next to the rest of your week.
Optional: let Claude build the client page from a session transcript
If you record sessions, you do not have to build every page by hand. Connect xTiles to Claude, give it the transcript or your notes, and ask it to create a page in the client's portal: key points, agreed next steps and a few prompts for the week. Then adjust colours and wording yourself before the client sees it.
If your clients are businesses rather than individuals, the setup is similar but the content changes: see how an agency builds a client portal in xTiles. For ADHD coaching specifically, read how an ADHD coach uses xTiles with clients.
Free coaching templates for your client portal
All four are free in the xTiles template gallery. Use them as pages inside each client's portal.
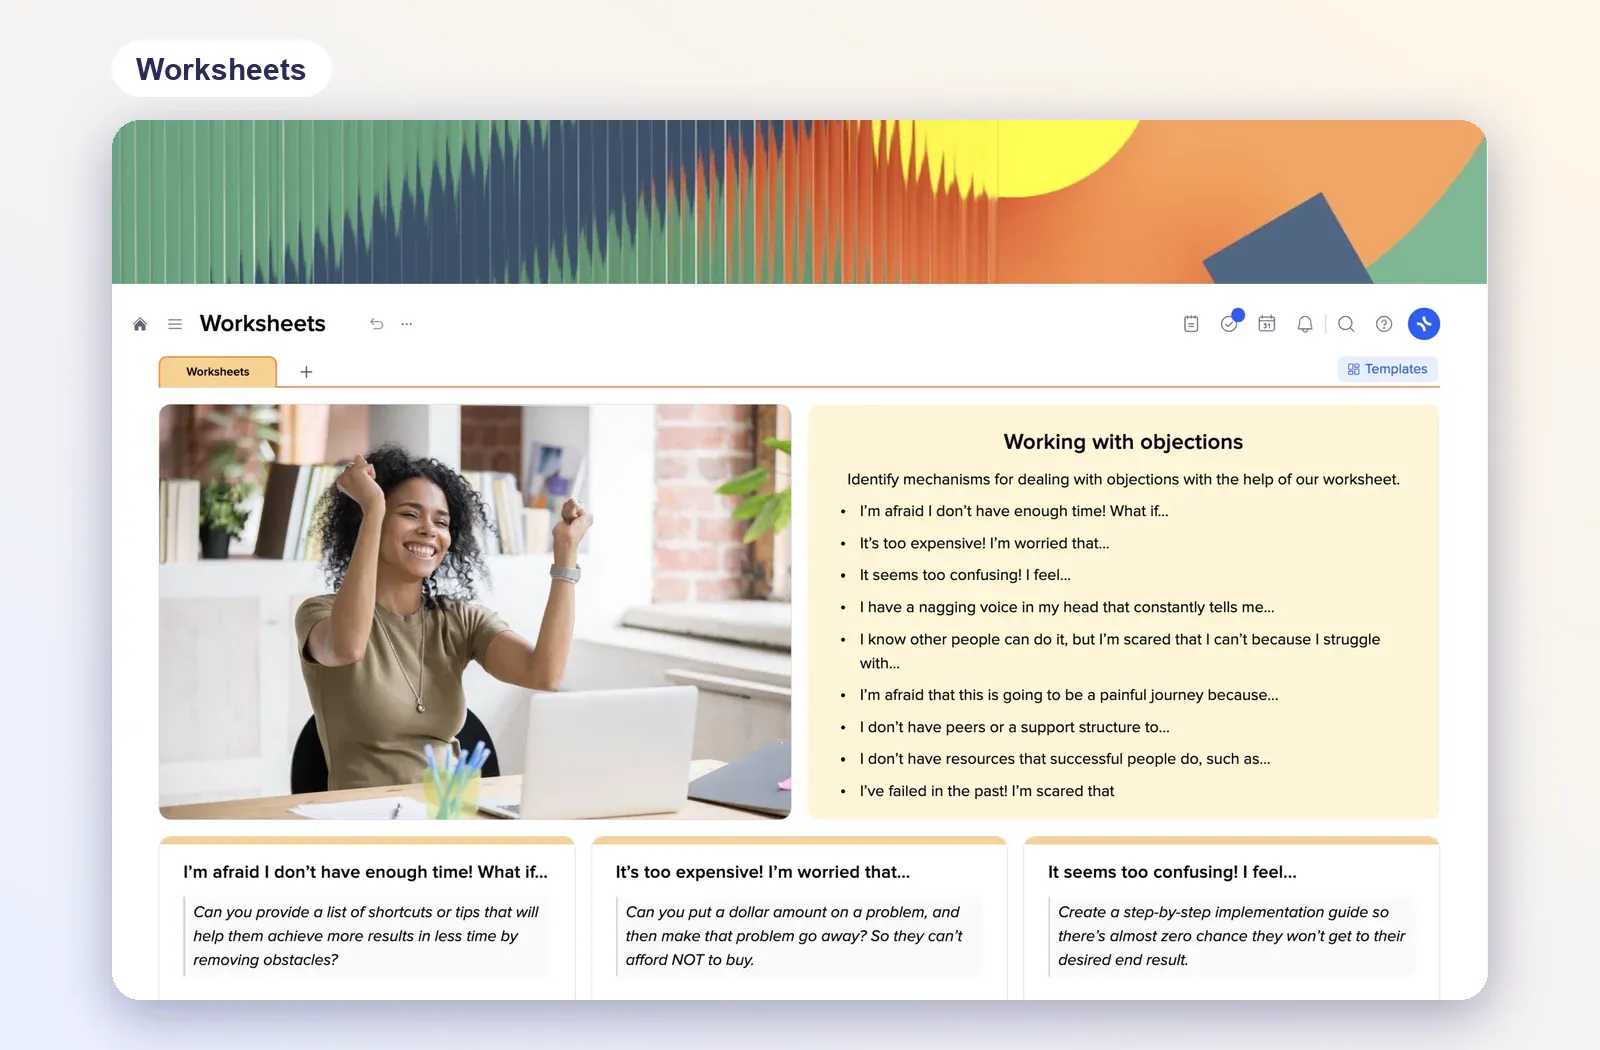
1. Worksheets: a client workbook
An image, a set of prompts and answer tiles on one page, shown here as a worksheet for working with objections. Use it as homework between sessions. Open the Worksheets template.
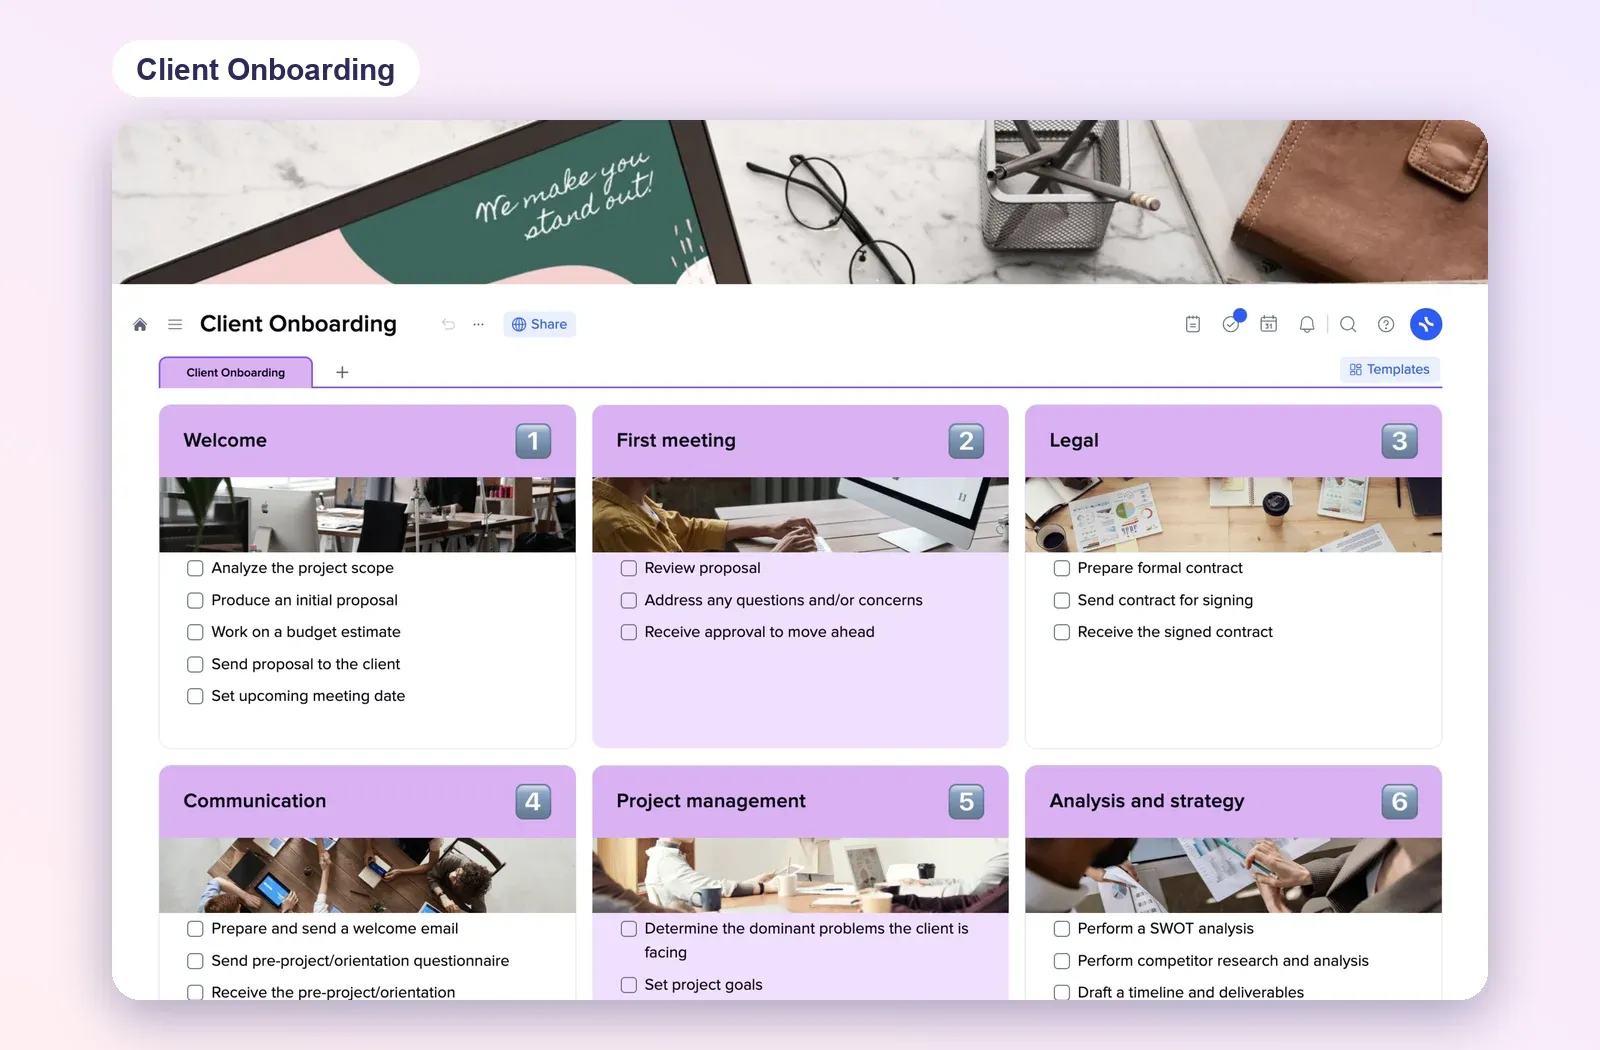
2. Client Onboarding: the first weeks with a new client
Numbered tiles from Welcome and First meeting to Legal and Communication, each with a checklist. Use it as your own checklist for starting with a new client. Open the Client Onboarding template.
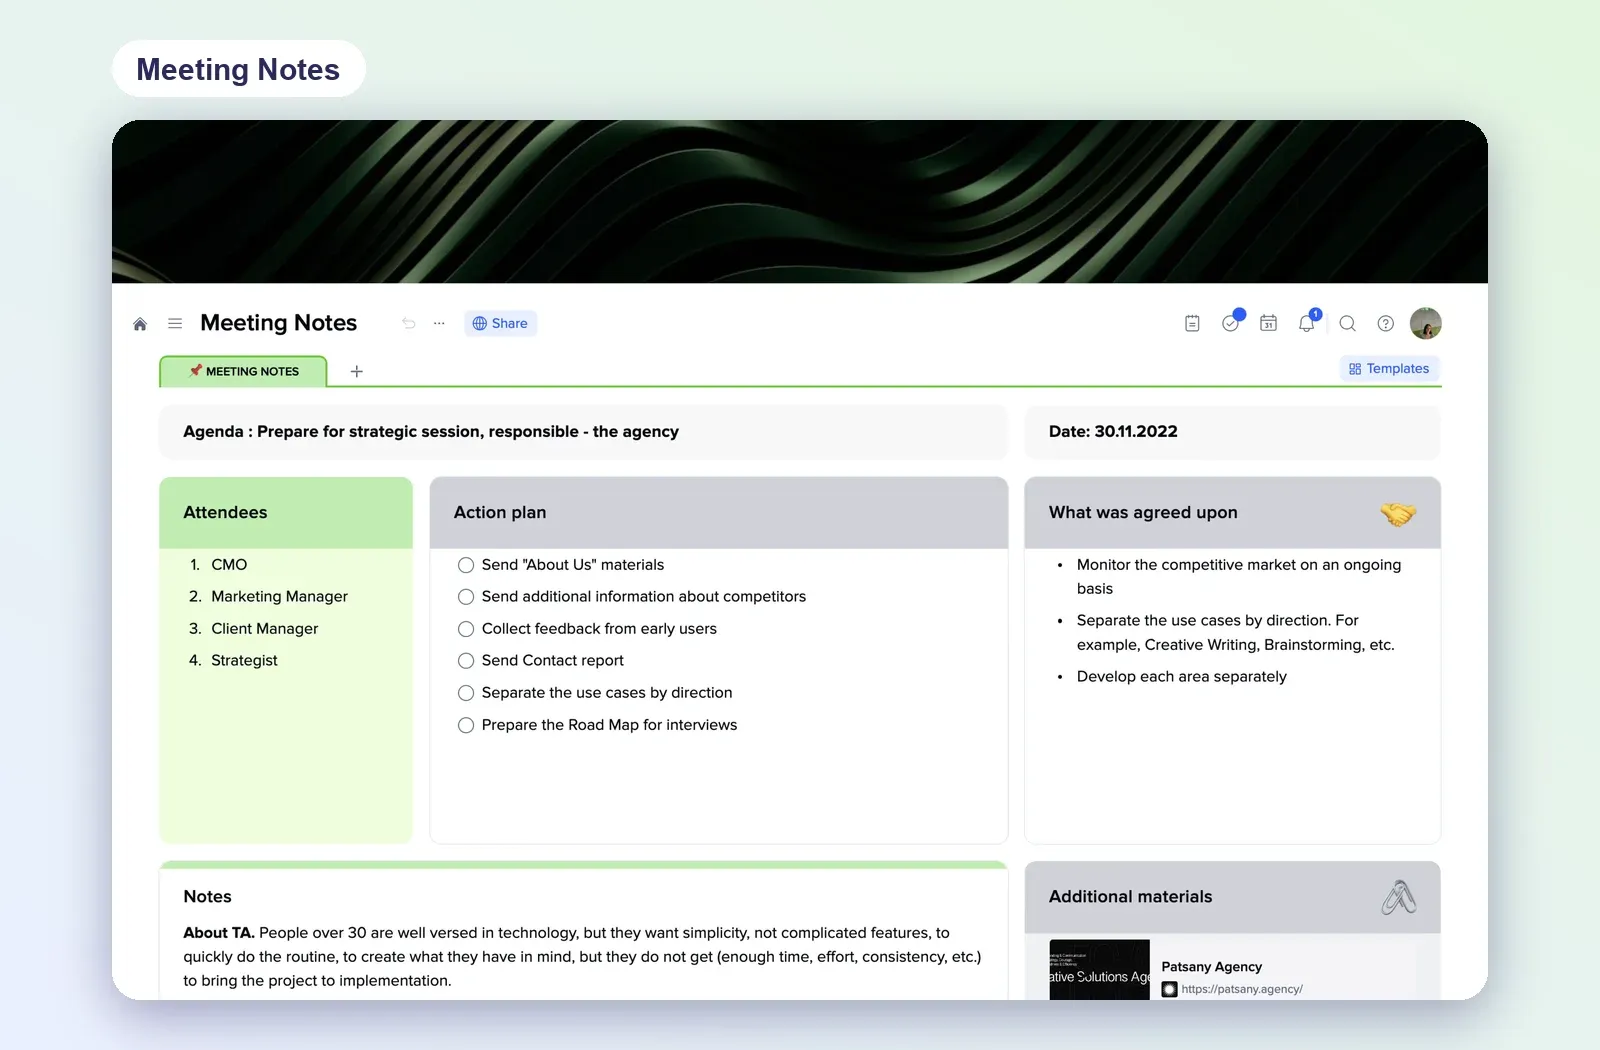
3. Meeting Notes: one page per session
Agenda, date, attendees, an action plan, what was agreed and notes. Duplicate it for each session in the client's portal. Open the Meeting Notes template.
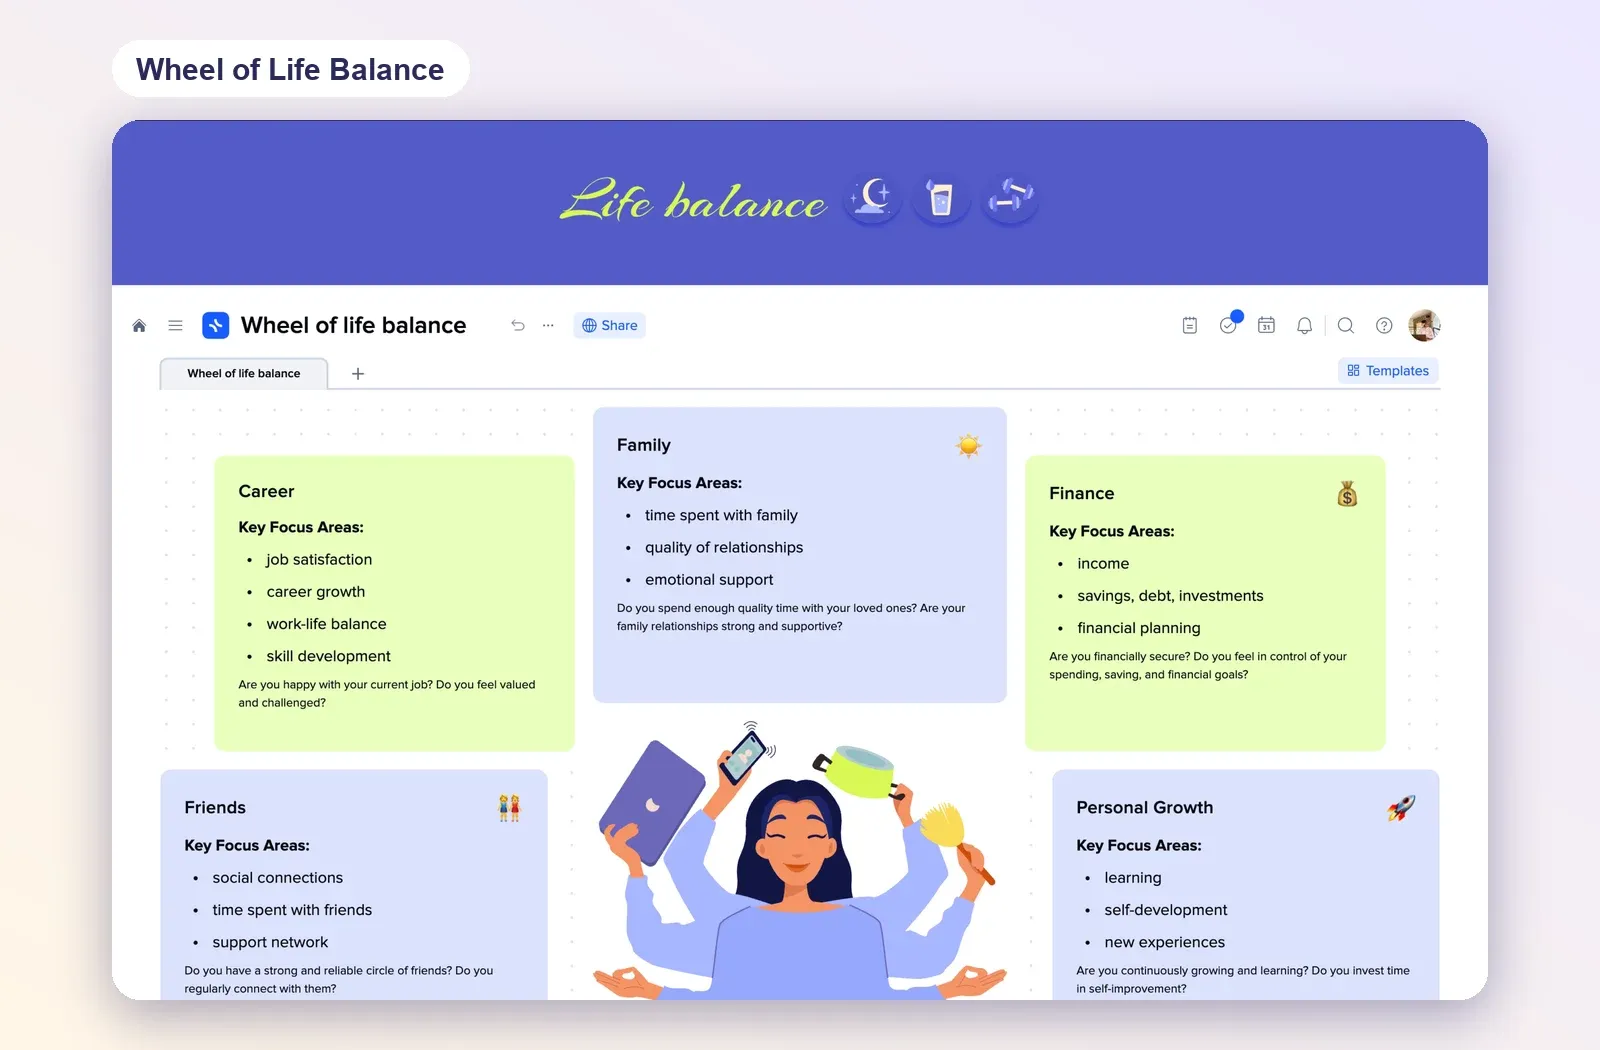
4. Wheel of Life Balance: a first-session exercise
Career, family, finance, friends and personal growth, each with key focus areas and a reflection question. A good first exercise for a new client. Open the Wheel of Life Balance template.