Two deadlines per session, times every session in busy season
Every photo session comes with two dates that matter after the shoot: when the edit has to be finished, and when the gallery has to reach the client. In a quiet month you can keep them in your head. In wedding season, with several sessions a week, they slip.
Holly, a wedding and lifestyle photographer, came to a call with us in the middle of busy season with exactly that problem, plus a second one: staying consistent on social media. The plan was to take content from idea to calendar to the scheduling tool, without losing track of client work. A previous workspace had not stuck:
"I tried Notion. I would always just get lost in making it pretty, and then I would never check it."
So the goal of the setup below is the opposite: a hub you actually open every day because it tells you what is due, not a beautiful page you never come back to.
Step 1: one list of sessions with both dates
Create a project for the business and add a collection called Sessions, one item per shoot. Give it these properties:
- Client and Session type (wedding, engagement, family, lifestyle).
- Shoot date, Edit by and Deliver by, each a Date property.
- Status as a select: Booked, Shot, Culling, Editing, Delivered.
- Gallery link for the final delivery.
Then add two views of the same list. A Board grouped by Status shows where each session is at a glance. A Calendar on the Deliver by date shows which galleries are due this week. Change a session in one view, and it changes everywhere.
Step 2: turn the dates into tasks you will actually see
Dates in a table are easy to ignore. Tasks with a due date are not, because they show up in My Planner on that day, next to everything else you have to do. For each session, add two tasks inside its item:
- "Edit: [client]" with the due date set to the Edit by date.
- "Deliver: [client]" with the due date set to the Deliver by date.
Now the daily and weekly views of My Planner show which edits and deliveries are due, across every session, without opening the Sessions list.
Step 3: plan social content from the sessions you deliver
The easiest content for a photographer is the work itself: a sneak peek after a shoot, a full gallery post after delivery, a behind-the-scenes clip. Add a second collection, Content, with:
- Idea as the title, and a Session field to note which shoot it comes from.
- Status: Idea, Drafted, Scheduled, Posted.
- Platform as a select, and a Post date.
Show it as a calendar on Post date to see the month at a glance, and as a board by Status to see what is ready to schedule. When a post is ready, schedule it in your usual social tool and move it to Scheduled. The full method is in how to create a social media content calendar.
Optional: let Claude build the hub from one prompt
Holly already had Claude connected to xTiles but was not sure how to use the two together. On the call, we gave Claude one prompt: create an xTiles project for a photographer with a dashboard, client sessions, content ideas, a content calendar and a quick capture page. A few minutes later the project was there, with collections and a short guide on how to use it.
Treat that as a first draft, not the finished hub. It still needed tuning: calendar views on the right dates and edit and delivery deadlines as tasks so they reach the planner. You can make those changes yourself or ask Claude in the same chat. To set it up, connect Claude to xTiles; for another example of one prompt becoming a full plan, see turning an event brief into a project plan with Claude.
A ten-minute routine for busy season
- After every shoot, add the session with its two dates and the two tasks. It takes a minute while the details are fresh.
- Every morning, open the day in My Planner and do the edit or delivery that is due first.
- Every Monday, look at the Deliver by calendar for the week and move anything at risk.
- After every delivery, add one content idea from that session.
Free templates for a photography business hub
All four are free in the xTiles template gallery.
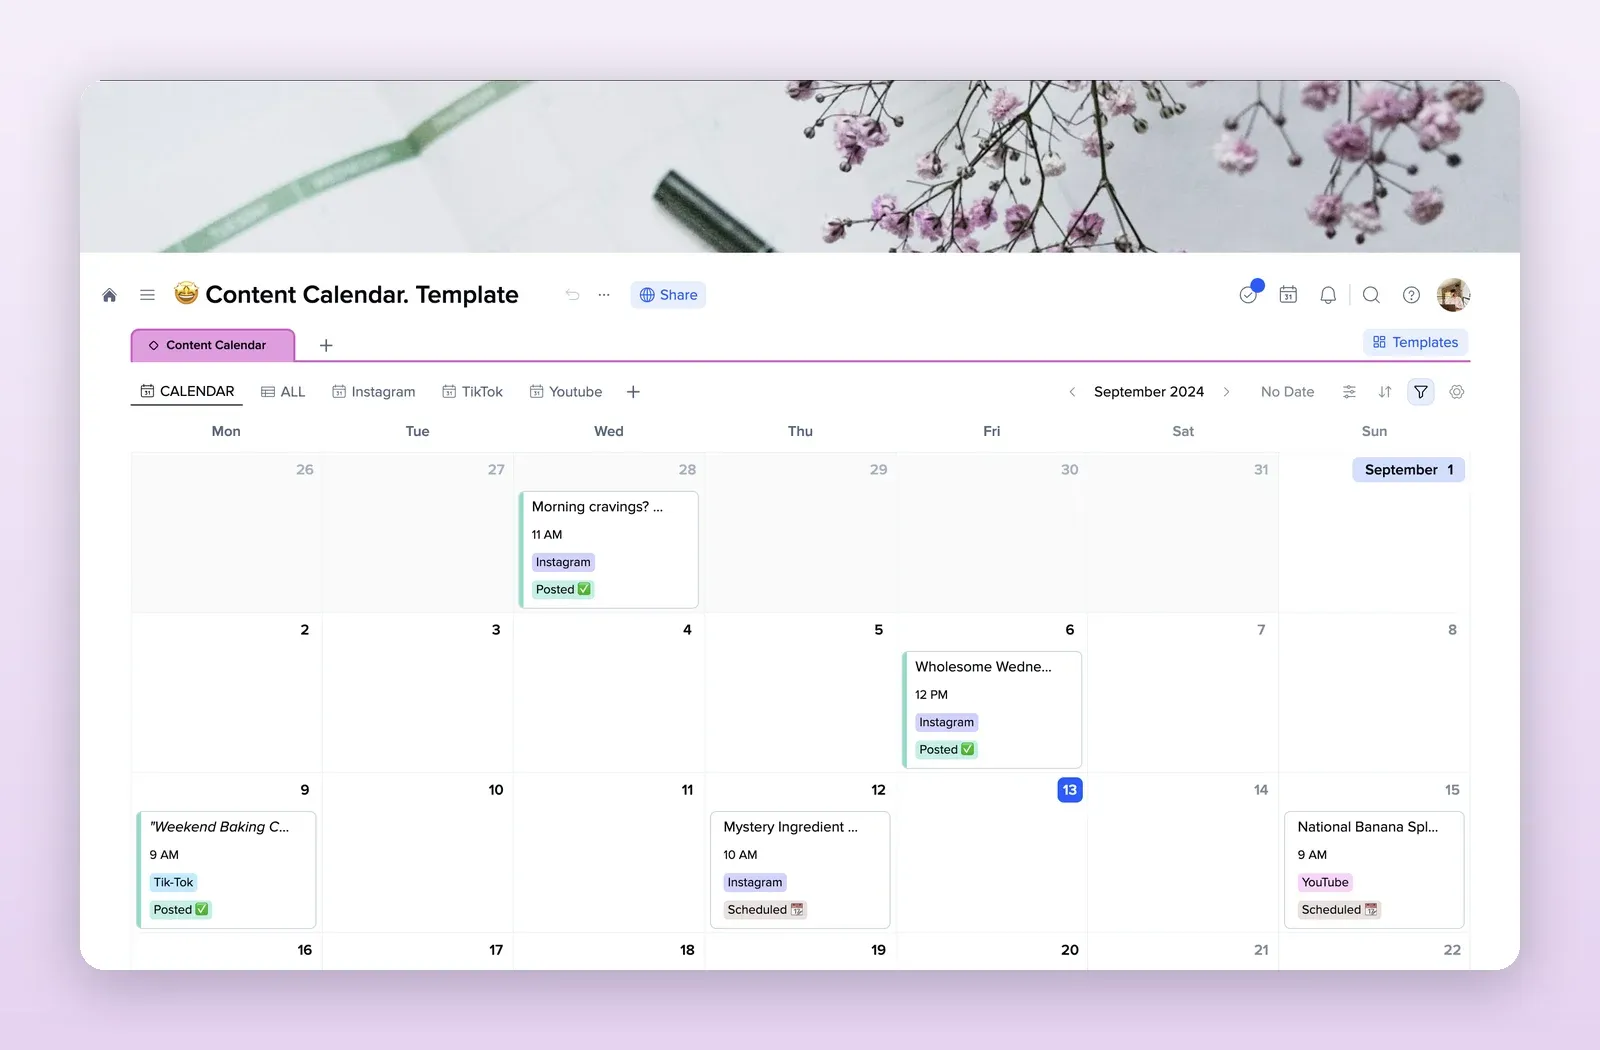
1. Social Media Calendar: posts on a calendar
A month calendar of posts with the platform, time and status on each card, plus views per platform. The base for Step 3. Open the Social Media Calendar template.
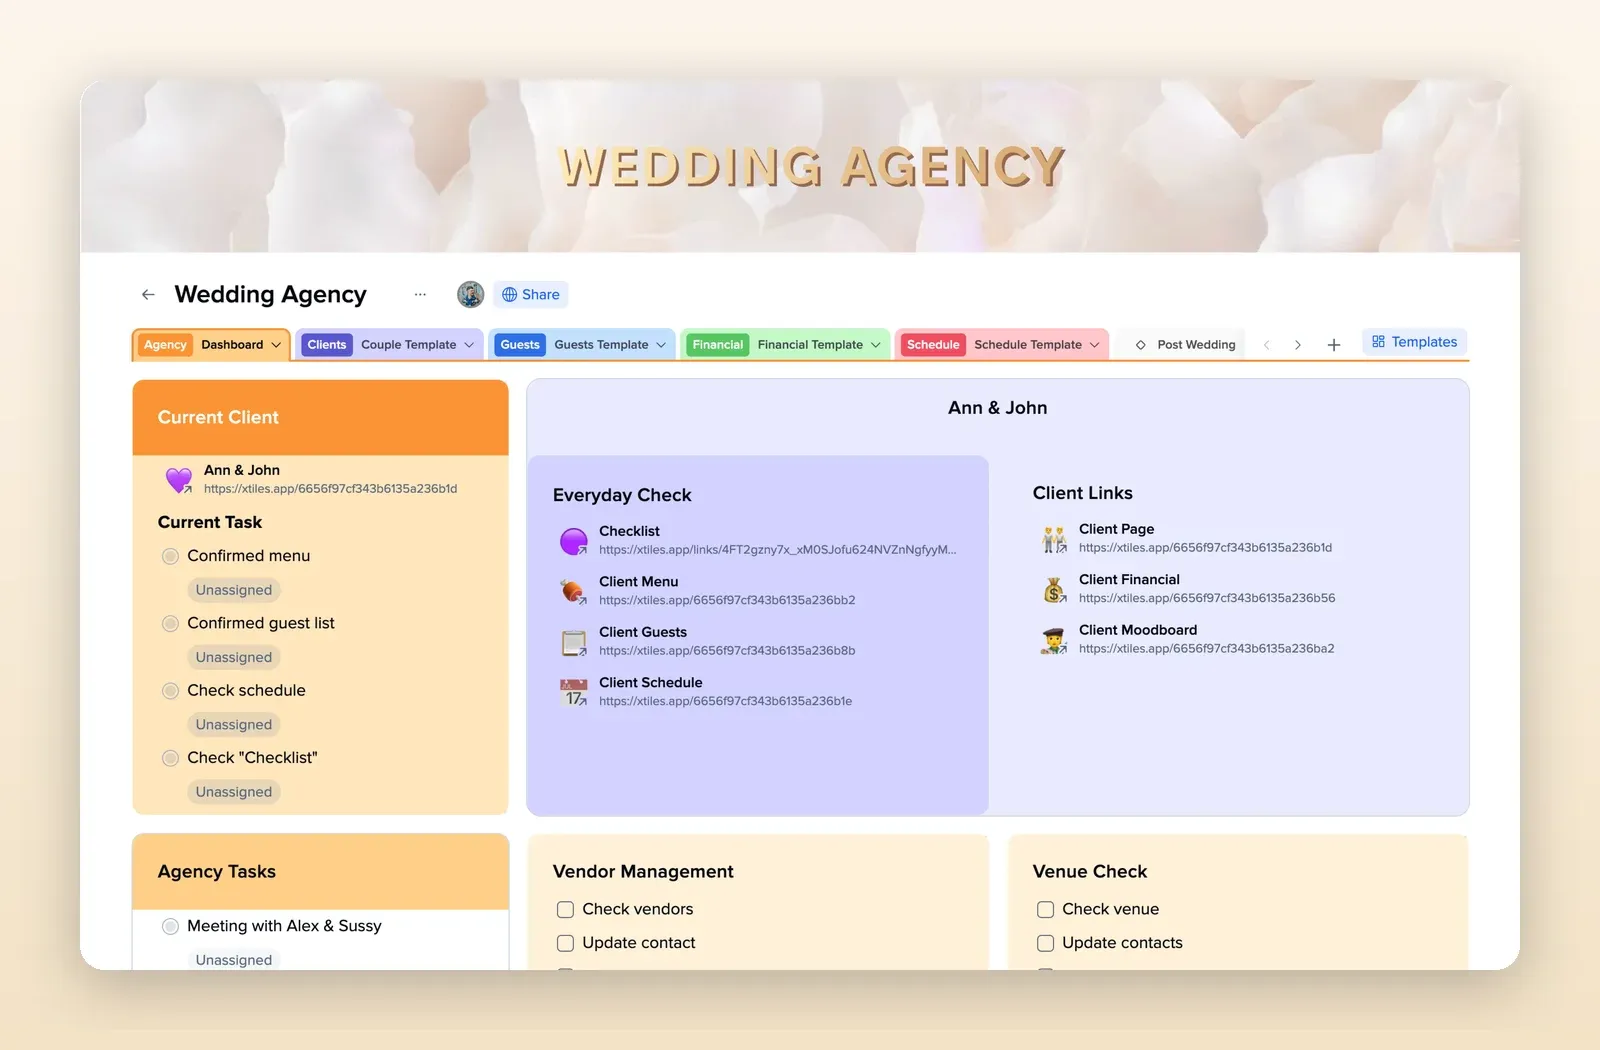
2. Wedding Agency: a page per couple
A dashboard with the current client and tasks, and tabs per couple for the schedule, guests, finances and a moodboard. Use it as a client page per wedding. Open the Wedding Agency template.
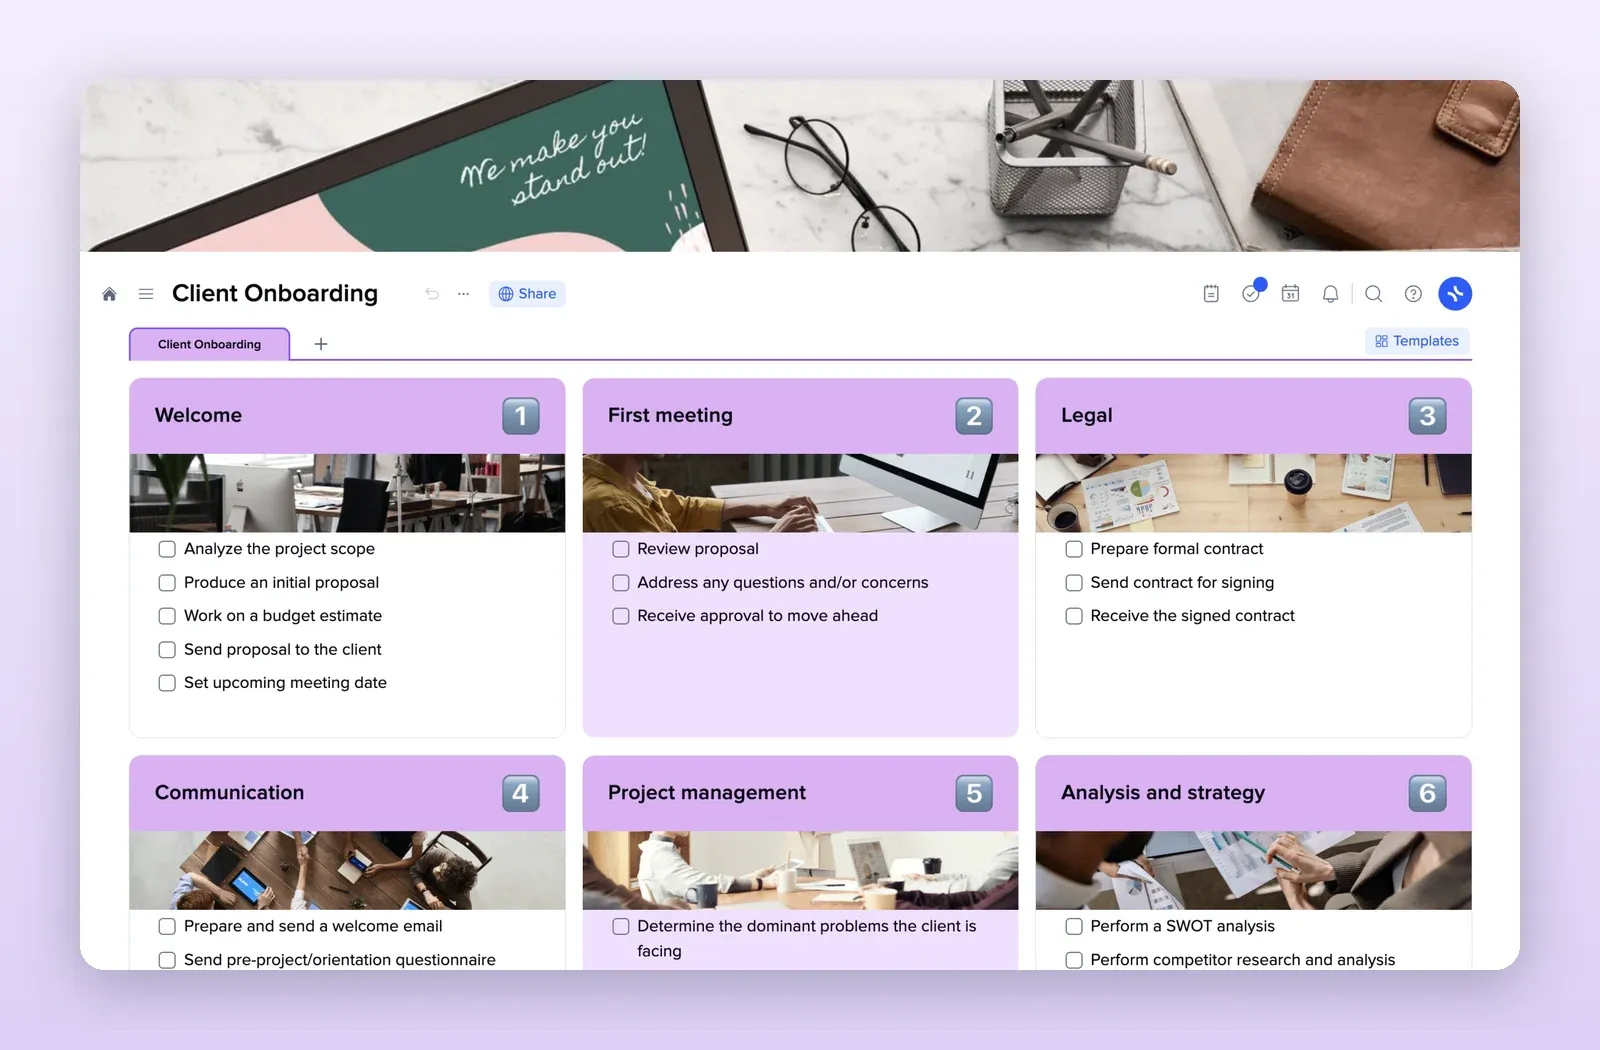
3. Client Onboarding: from inquiry to booked
Numbered tiles from welcome and first meeting to the contract and communication, each with a checklist. A repeatable start for every new booking. Open the Client Onboarding template.
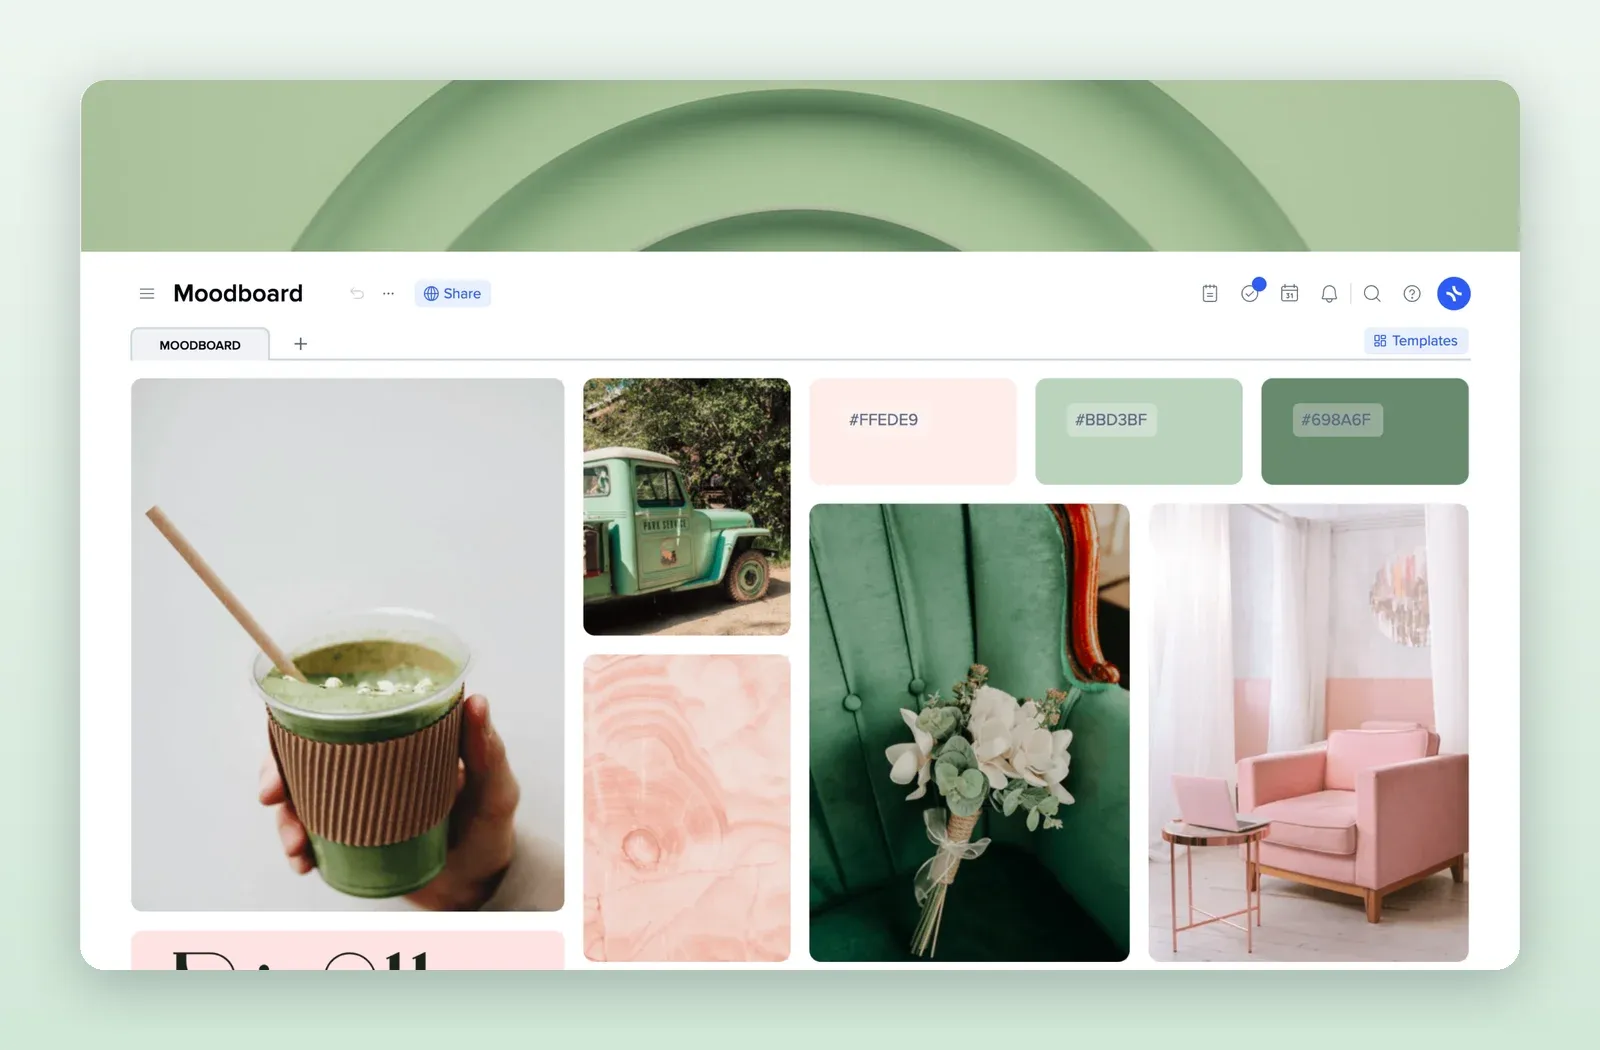
4. Moodboard: the look for a session
Images, colour swatches and references on one page. Build one with the client before the shoot. Open the Moodboard template.