Why progress updates by email do not work for clients
Most coaches already have a system for the business side: a CRM for notes, contracts and invoices, and a workspace for their own planning. What the client usually gets is an email after each session.
That was the setup Kat, a coach, described on a call with us. Notes, invoices and contracts live in a CRM, the business runs in another workspace, and clients follow their progress through email updates. Emails pile up, links get lost, and a client who wants to see how far they have come has to scroll back through a thread.
The alternative is a page the client can open any time: their goals, where they started, what changed and what comes next. In Kat's words, the point is to be able to show clients their progress, not just tell them about it.
What a client progress page should show
- The goal, in the client's words, and how you will both know it is reached.
- The starting point: where things stood at the first session.
- Progress so far: milestones, wins and the numbers you track together, week by week.
- Next steps: the actions the client agreed to before the next session, with dates.
- Session notes: a short summary of each session, newest first.
- Resources: the worksheets, links and routines you recommend.
The first three answer "how am I doing?". The last three answer "what do I do now?". Both questions used to arrive in your inbox; now the page answers them.
How to build a client progress tracker in xTiles
1. One project per client
Create a project for each client. Pages work like browser tabs, so add one for Progress, one for Sessions, one for Next steps and one for Resources.
2. Lay out the Progress page
Put the goal and the starting point at the top, then a tile for wins and a small table for the measures you track each week. Tiles can hold text, checklists, images and tables side by side, so the page reads at a glance.
3. Turn next steps into tasks
Give each action a due date. Tasks with a due date show up in your planner too, so every client's next steps appear next to the rest of your week.
4. Invite the client by email
Share the project with the client's email and choose the access: can view, or can edit if you want the client to tick off tasks and add notes. Only the people you invite see it. Inviting clients is free, and they do not need a paid plan to collaborate.
If you want a portal where some pages are locked and others are open to the client, see how to build a coaching client portal where each client sees only their own page.
The five-minute update after each session
- Add a short session summary at the top of the Sessions page.
- Move anything finished to Wins on the Progress page.
- Update the weekly measures.
- Add the new next steps as tasks with dates.
Instead of writing an email, send nothing at all: the client already has the link. If they like a nudge, a one-line message "your page is updated" is enough.
Optional: let Claude build the client template from one prompt
Before the call with Kat, we built a demo client template in xTiles with a single prompt in Claude: session notes, next steps, resources, routines and a planner, each on its own tab. If you already use Claude, connect it to xTiles and describe how you coach: the stages a client goes through, what you track and your brand colours.
Once the template exists, Claude can also turn the notes from a session into that client's session page, with the agreed next steps as tasks. Review it before the client sees it.
Free templates for a client progress tracker
All four are free in the xTiles template gallery. Use them as pages inside each client's project.
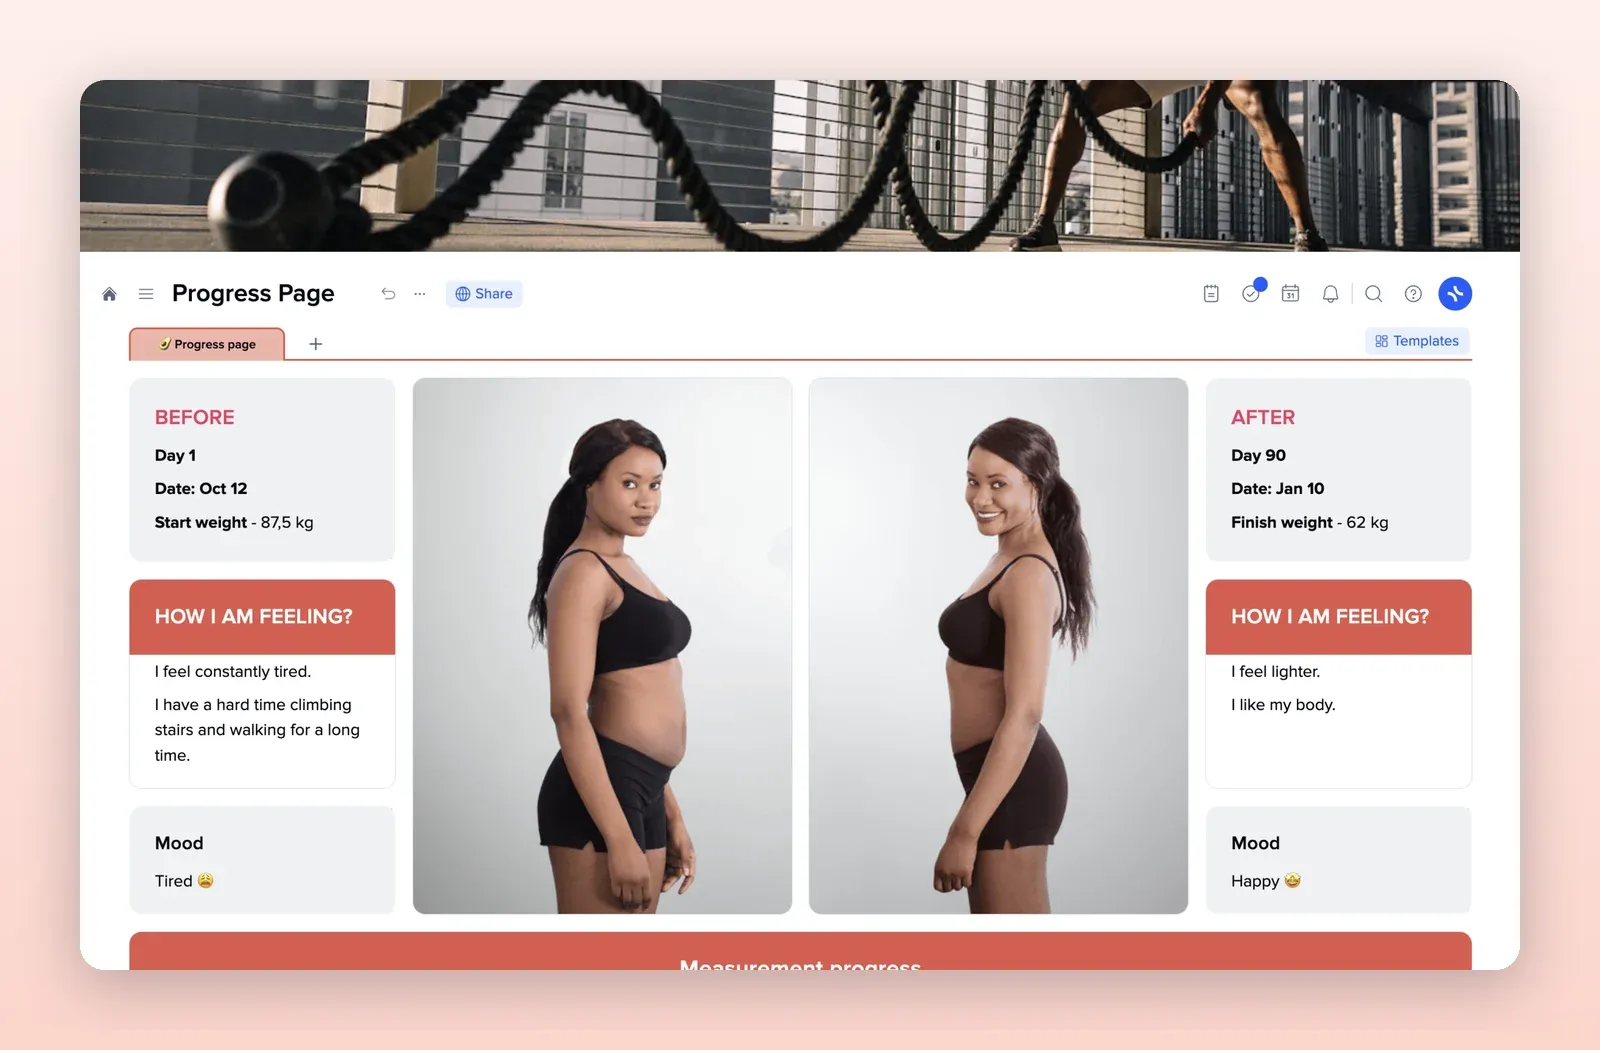
1. Progress Page: before and after on one page
A before column and an after column with how the client felt and their mood, and a week-by-week measurement table below. Built for fitness, but the layout works for any coaching goal. Open the Progress Page template.
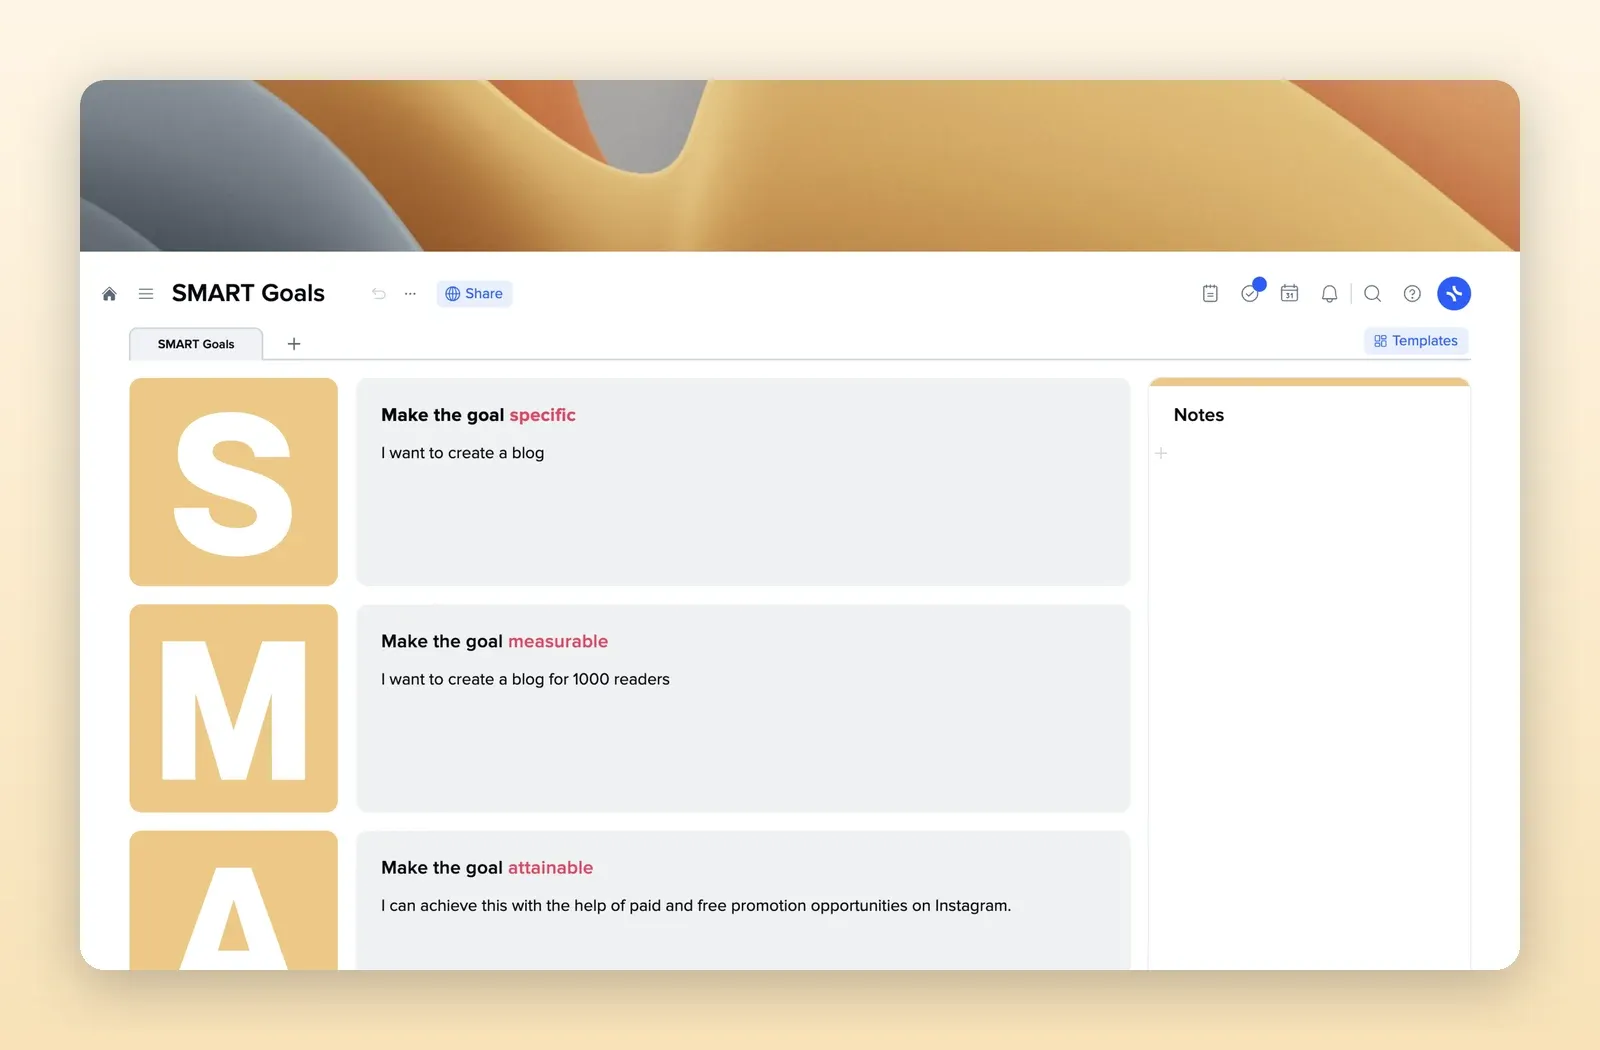
2. SMART Goals: the goal, written properly
One tile for each letter, specific, measurable, attainable, relevant and time-bound, plus notes. Fill it in together at the first session. Open the SMART Goals template.
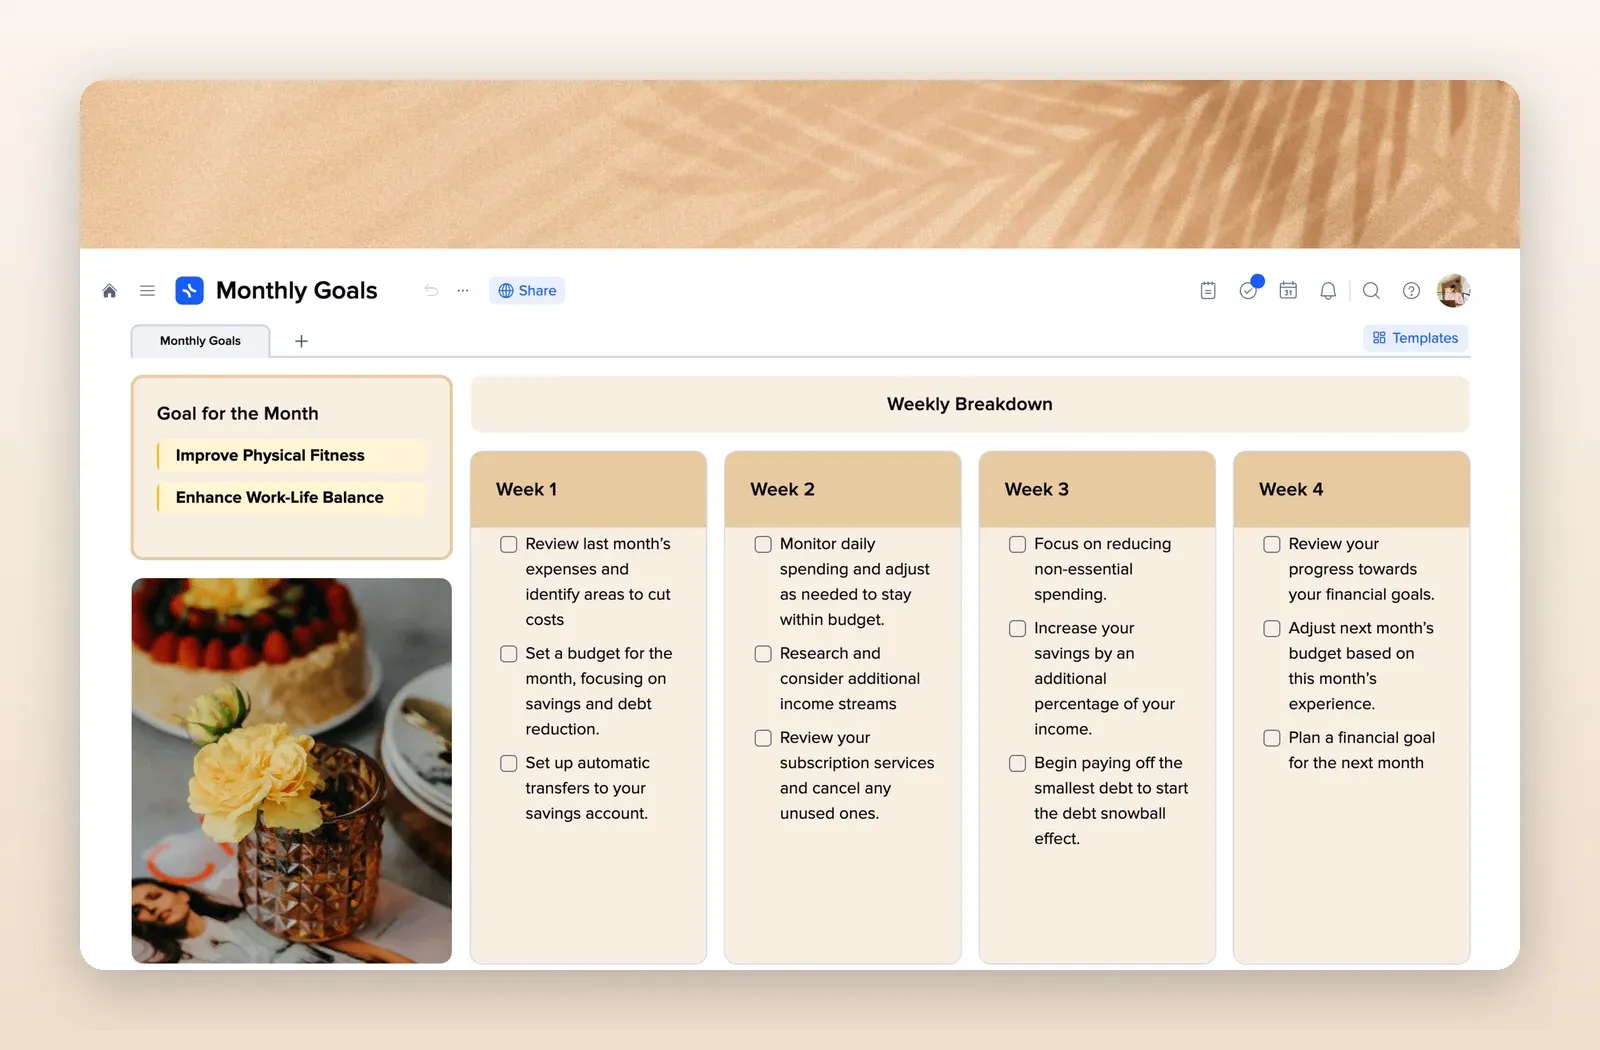
3. Monthly Goals: the month broken into weeks
Goals for the month, a weekly breakdown with checklists and an end-of-month review. Good for the Next steps page. Open the Monthly Goals template.
4. Meeting Notes: one page per session
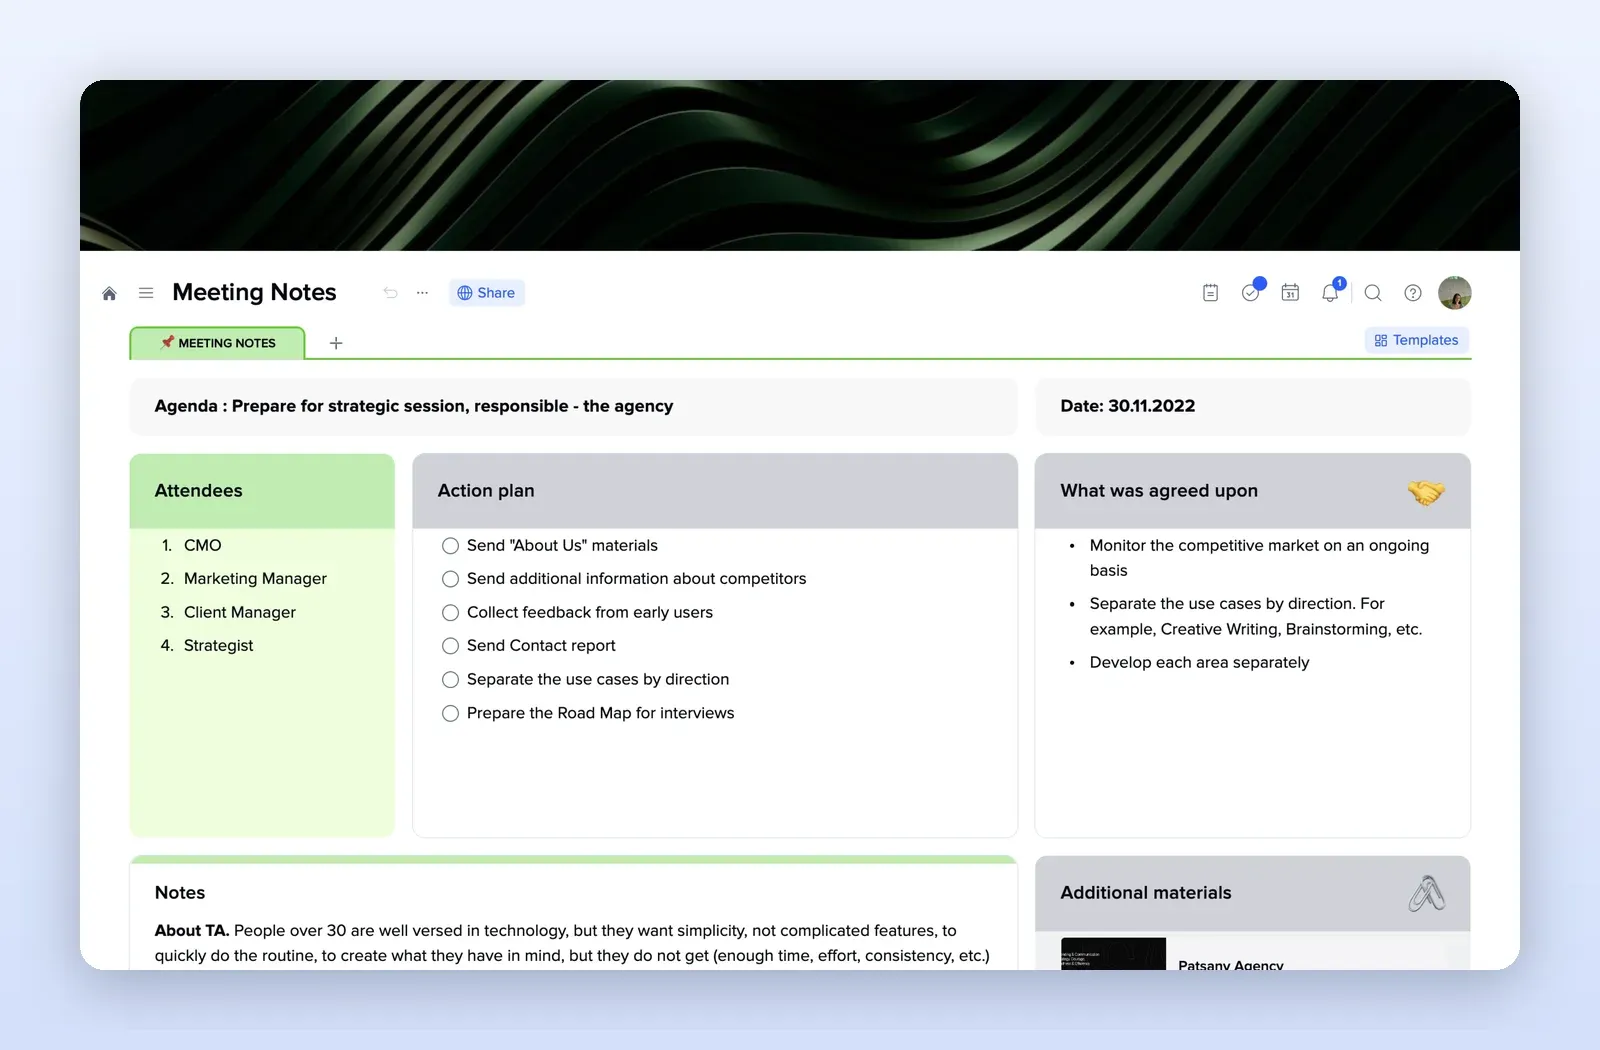
Agenda, date, attendees, an action plan, what was agreed and notes. Duplicate it for each session. Open the Meeting Notes template.