xTiles is a great tool for collaborative project work as it allows distributed teams to effectively work together, from brainstorming to planning and managing agile workflows.
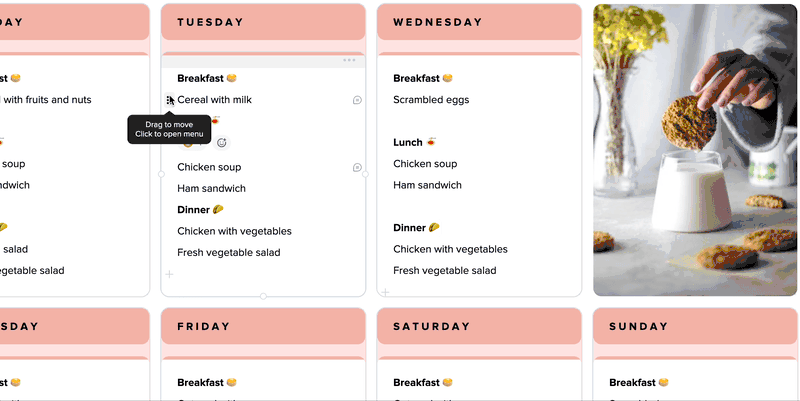
To get started, create a new project or choose an existing one. Each project is automatically saved. You don’t have to start a project from scratch; you can simply select a relevant template from our growing library.
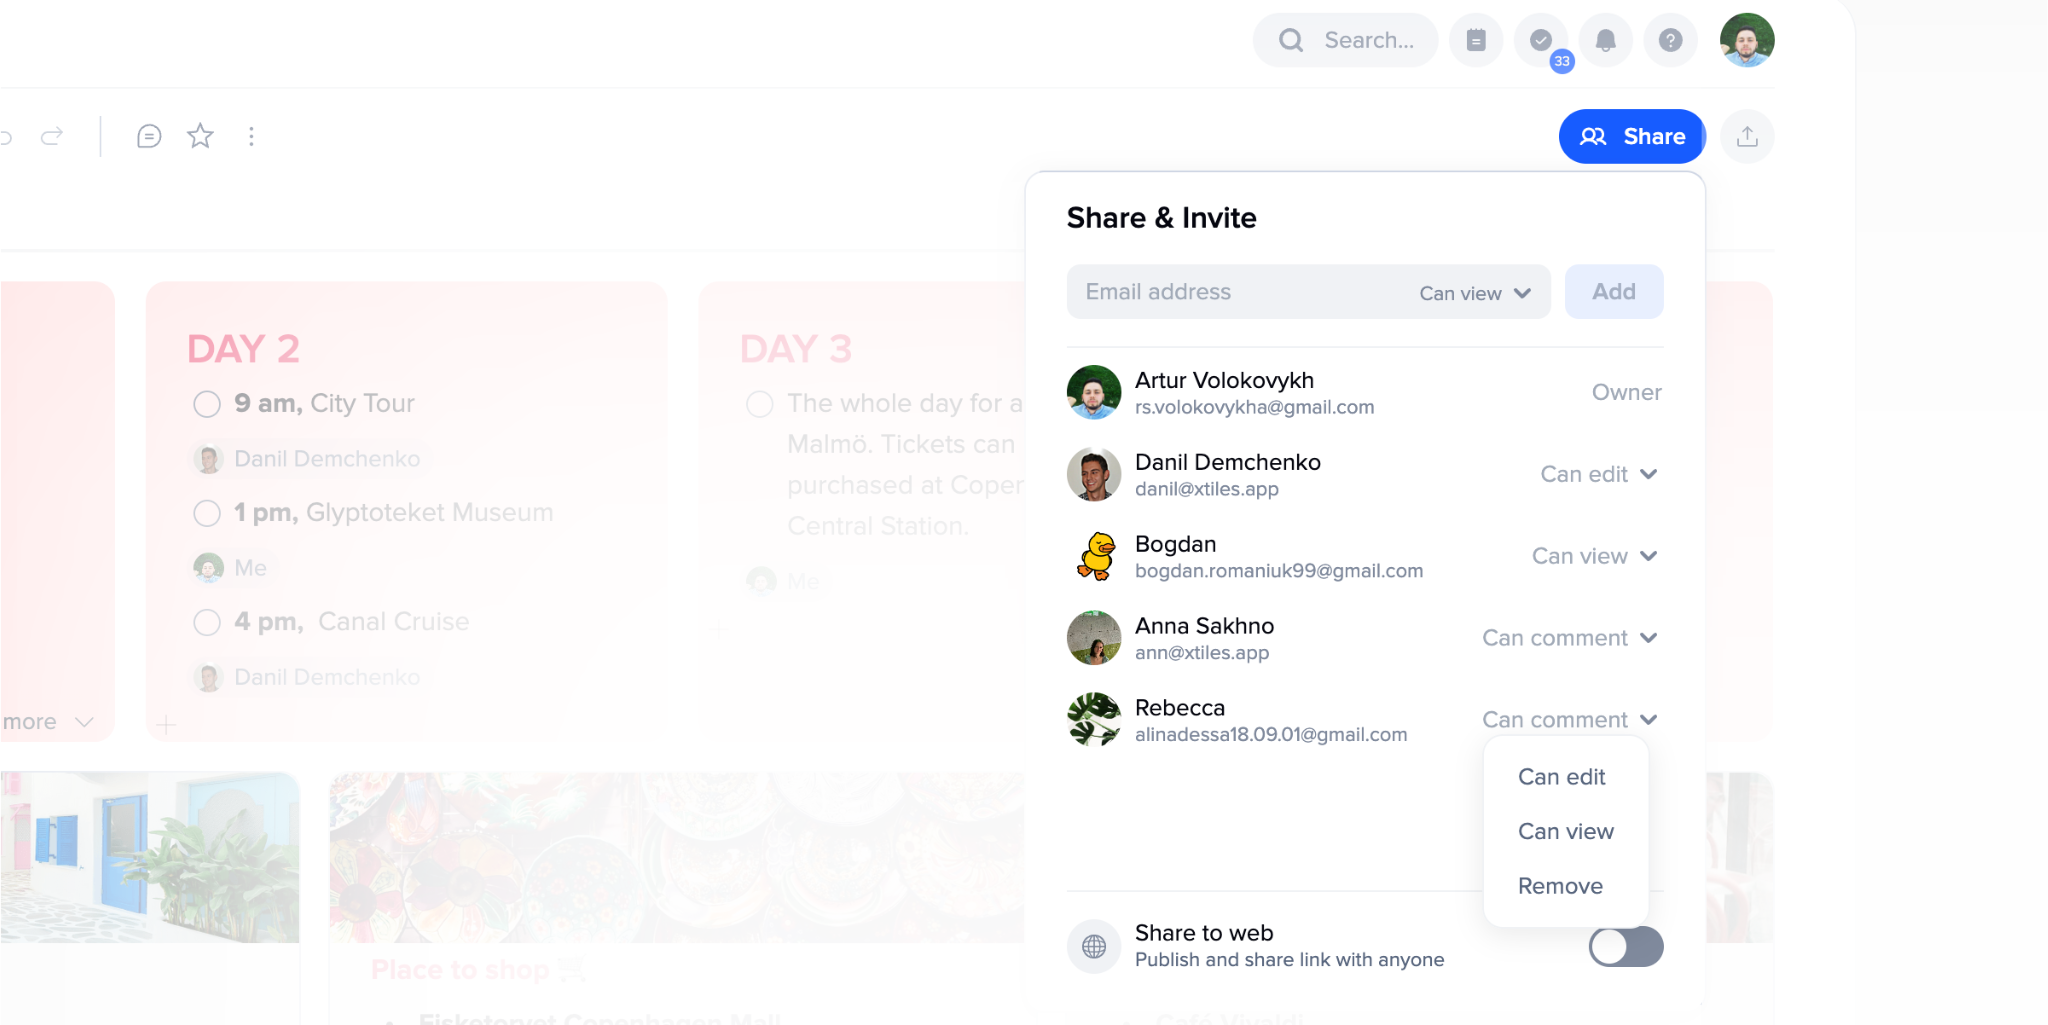
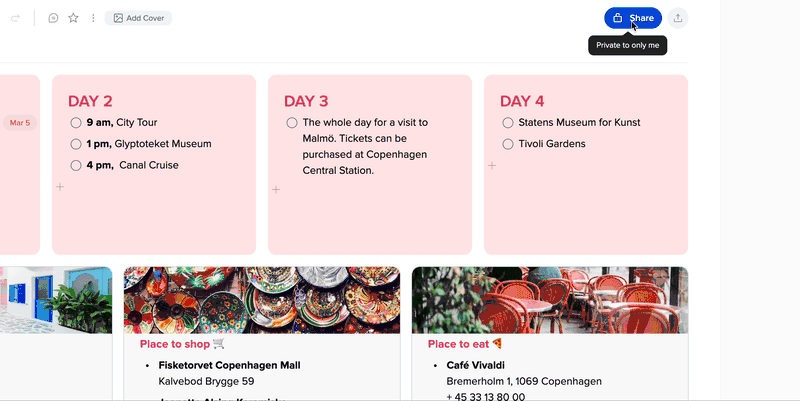
Invite colleagues to engage in real-time brainstorming and idea discussions, or work at your own pace with people from different time zones. To invite colleagues to the project, click the “Share” button in the top right corner.
Roles in xTiles
xTiles uses role-based access control to manage what a user can see or do within a project. Roles are defined at the project level.
Collaboration roles:
- Owner – A registered user who has full control over the project. They create the project, can delete it, add stakeholders to the project, modify their access levels, view access request notifications, change participant rights, and perform other actions. They receive notifications for comments, can create both public and private pages, and can change the project’s location in their workspaces.
- Editors – Registered co-authors who have access to all functionalities, can edit project content, create pages and subpages, deploy content blocks, and more. (They can view any changes in the project made by other editors and the owner), hide/reveal and view hidden pages, receive mention notifications, and add or modify permissions for other participants except the owner.
- Commenters – Registered users with the right to add and view reactions and comments to any blocks within the project. Such users cannot modify the project’s content and cannot see hidden pages.
- Readers – Registered users who only have the right to view the project’s content. They cannot modify the project’s content. The project is shared with them.
- Guests – These are external “users” who can be registered or not. They only have the right to view the project without making any changes. (They have access to the project through a link to the public project).
Private project
It is only accessible to users to whom the owner has granted appropriate permissions. It is designed for working with confidential information when the need to avoid its public availability arises.
Public project
It is accessible to any network user who has a link to it, even if they are not registered xTiles users. This project format is ideal for sharing any public information through emails, social media, creating digital products, and communicating with a large number of people, such as conferences or events.
Changing project access level
The owner or project editors can add, remove, or modify the access rights of other users to the project at any time using the “Share” menu within the project. This menu displays a list of users who have access to the project and their respective permissions.
Additionally, the menu provides the following functions:
- A toggle switch to set the project as public or private.
- An email input field to invite other users to the project.
- A list of recently invited users.
There is also a button to sync with Google Contacts, which allows displaying users from your contacts.
If a user has limited access rights to the project, such as being a commenter, reader, or guest, they can send a request to increase their rights or gain access to the project by using the “Request edit access” button on the open project.
The project owner will receive this request and make a decision by choosing the access level or declining it altogether.
Collaboration Features
Comments:
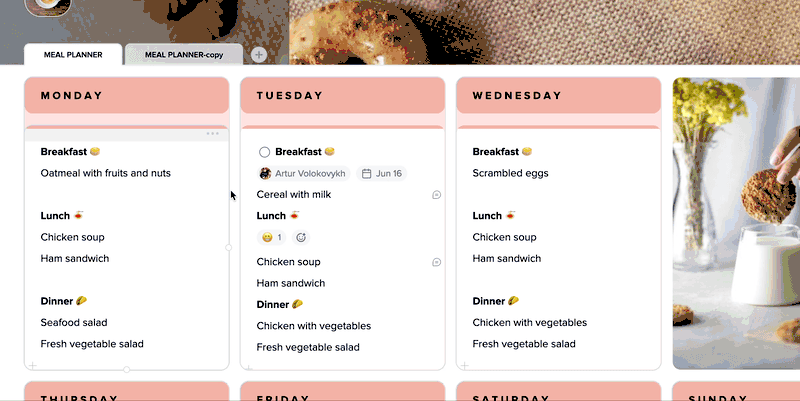
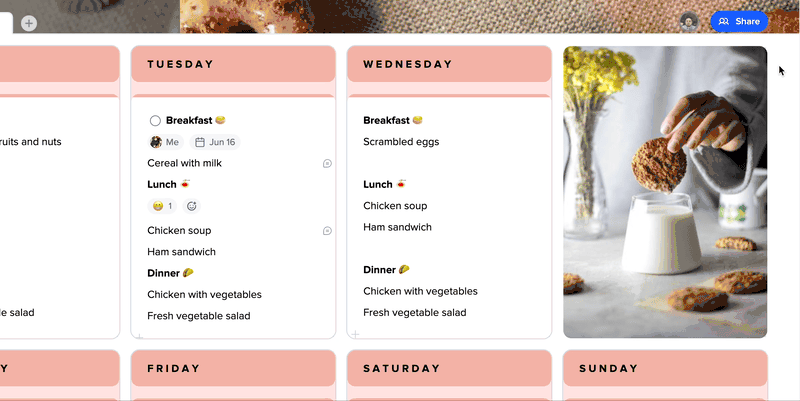
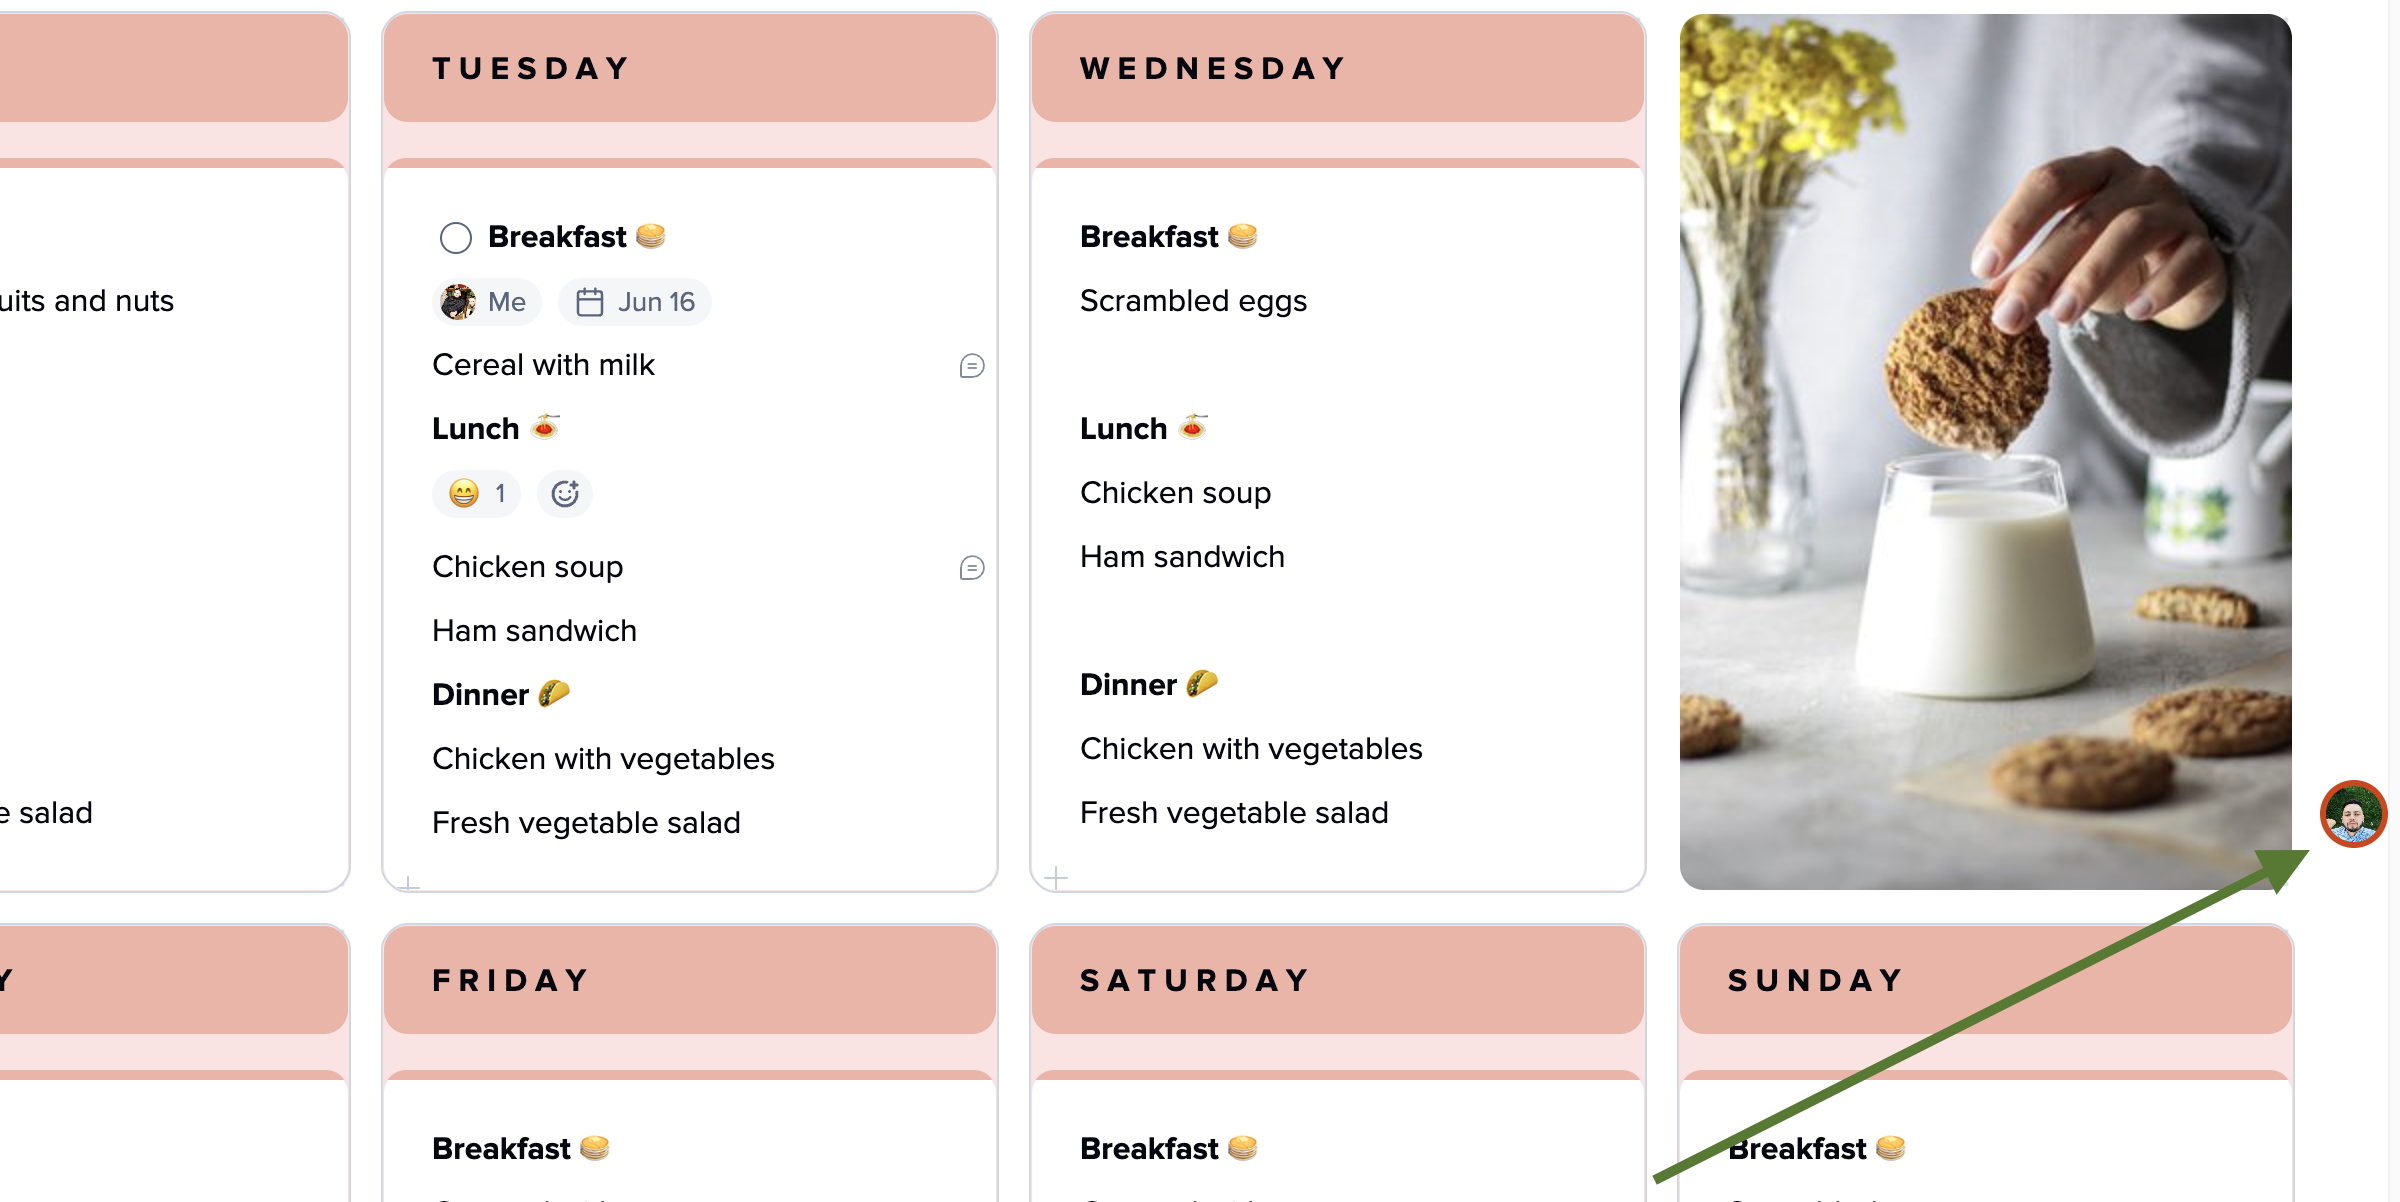
Comments can be left on any block within a page. A block with a comment is marked with a special icon, and clicking on it opens the thread specifically related to that block.
The project owner receives a notification for each added comment.
Clicking on the notification message opens the project with automatic scrolling to the block with the comment, highlighted in yellow.
All comments left on the page can be viewed by clicking on the corresponding icon in the project’s header.
Editing and deleting comments is only possible for the comment’s author.
Note: When deleting a block that contains comments, the comments will also be deleted.
User Mentions in Block Comments:
When entering the “@” symbol in a comment, a list of users who can be mentioned (owner, editor, commenter) is displayed.
After sending a comment with a mention, the selected user receives a respective notification.
Clicking on the notification opens the project with automatic scrolling to the block with the comment, highlighted in yellow.
Reactions to Blocks:
Users with the “commenter,” “editor,” and “project owner” access levels can leave emoji reactions to any block.
To add a reaction to a block, simply open the block menu and use the emoji picker to select the desired reaction. To remove a reaction that has been added, simply click on it again.
You can also amplify another user’s reaction to a block by clicking on it, thereby giving more weight to that reaction.
When hovering over a reaction, the name(s) of the user(s) who left the reaction will be displayed.
Task Assignment:
Tasks are individual blocks that you can create, organize, and track within projects you are involved in or your own lists. To learn more about this feature, you can read the article.
Editors and owners have the ability to create tasks, set due dates, and assign them to specific individuals who will be responsible for completing the tasks.
All tasks assigned to you or tasks you have assigned can be viewed in the “Tasks” panel. There, you will find quick access to the relevant location in the project by simply clicking on a task.
Hiding pages in the project:
The ability to hide pages is available to the owner and editors. This feature allows for controlling the visibility of individual pages within the project. The owner and editors can hide pages when they are irrelevant or not yet ready to be shown to other users. If necessary, they can also show these pages again when they are ready for viewing and collaboration. This provides greater flexibility and control over the project’s content for the owner and editors.
Ability to view added or modified blocks by the user:
On every project page, all editors are displayed in the header.
Clicking on the editor’s avatar activates the mode to show the changes made by this user on the page.
Blocks added or modified by this user will be highlighted in yellow.
Clicking again on the user’s avatar will disable this feature.
Additionally, in the block or tile menu, you can see the date, time, and name of the editor who added or edited the block or tile.
Displaying the position of the active user:
On the canvas to the right, the user’s avatar is displayed approximately at the level where they are currently located.
Also, when selecting a tile, block or focusing on a block, the user’s avatar will be shown.
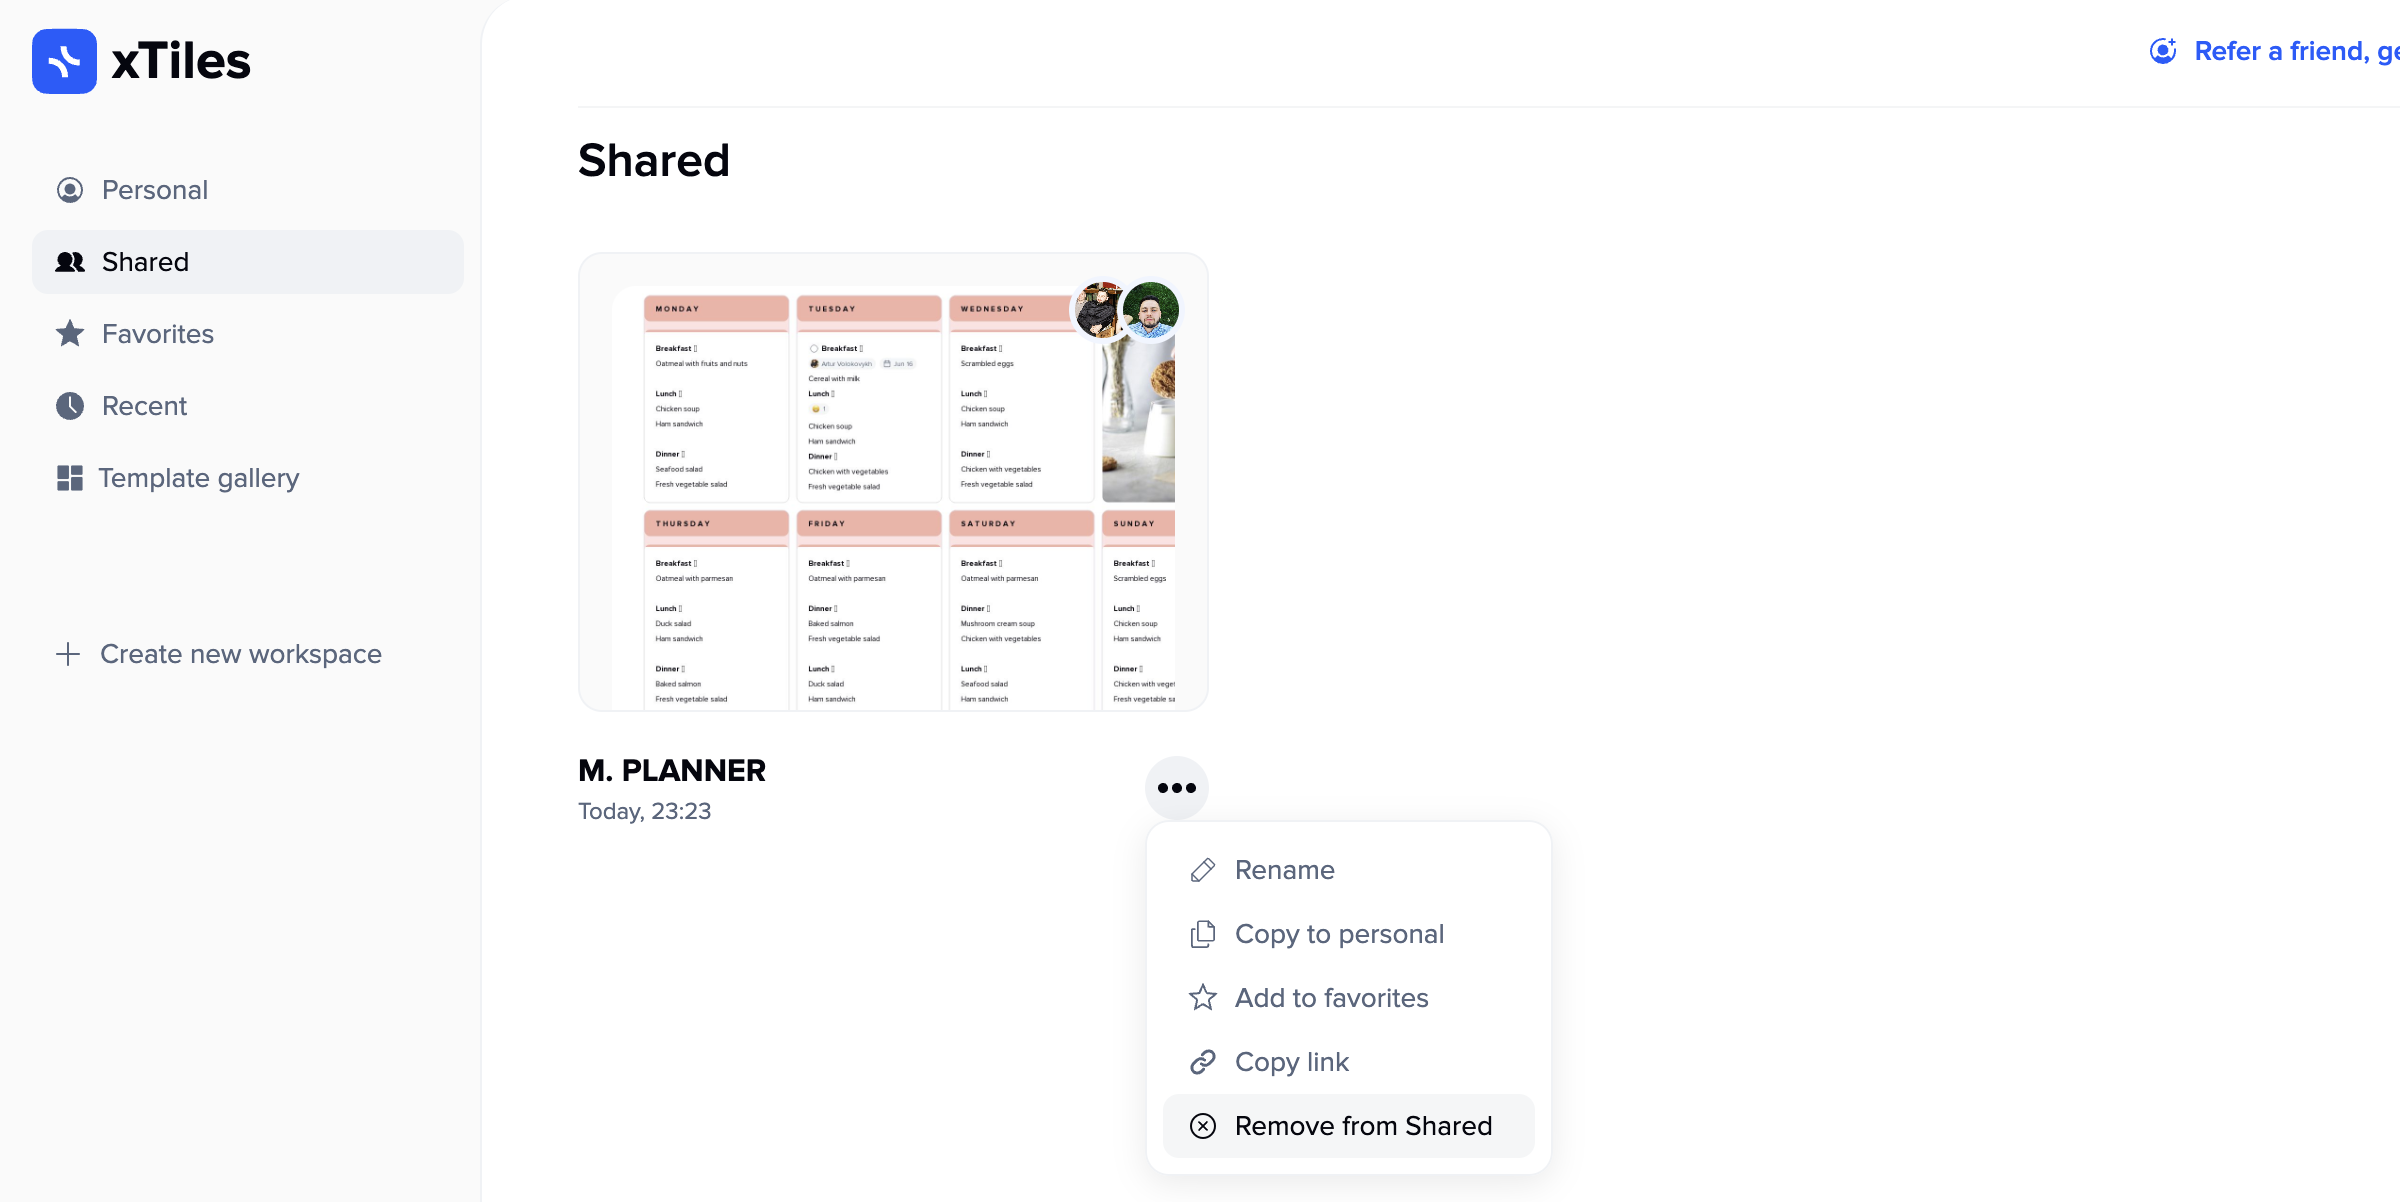
“Share” section on the main screen:
Stores all projects that you have access to, except for projects where you were a guest.
You can unsubscribe from a project at any time without involving the owner.
Additionally, next to each project, there is a three-dot menu where you can:
Add the project to favorites.
Change the project name (if you have editing rights).
Make a duplicate of the project.
Copy the project link.
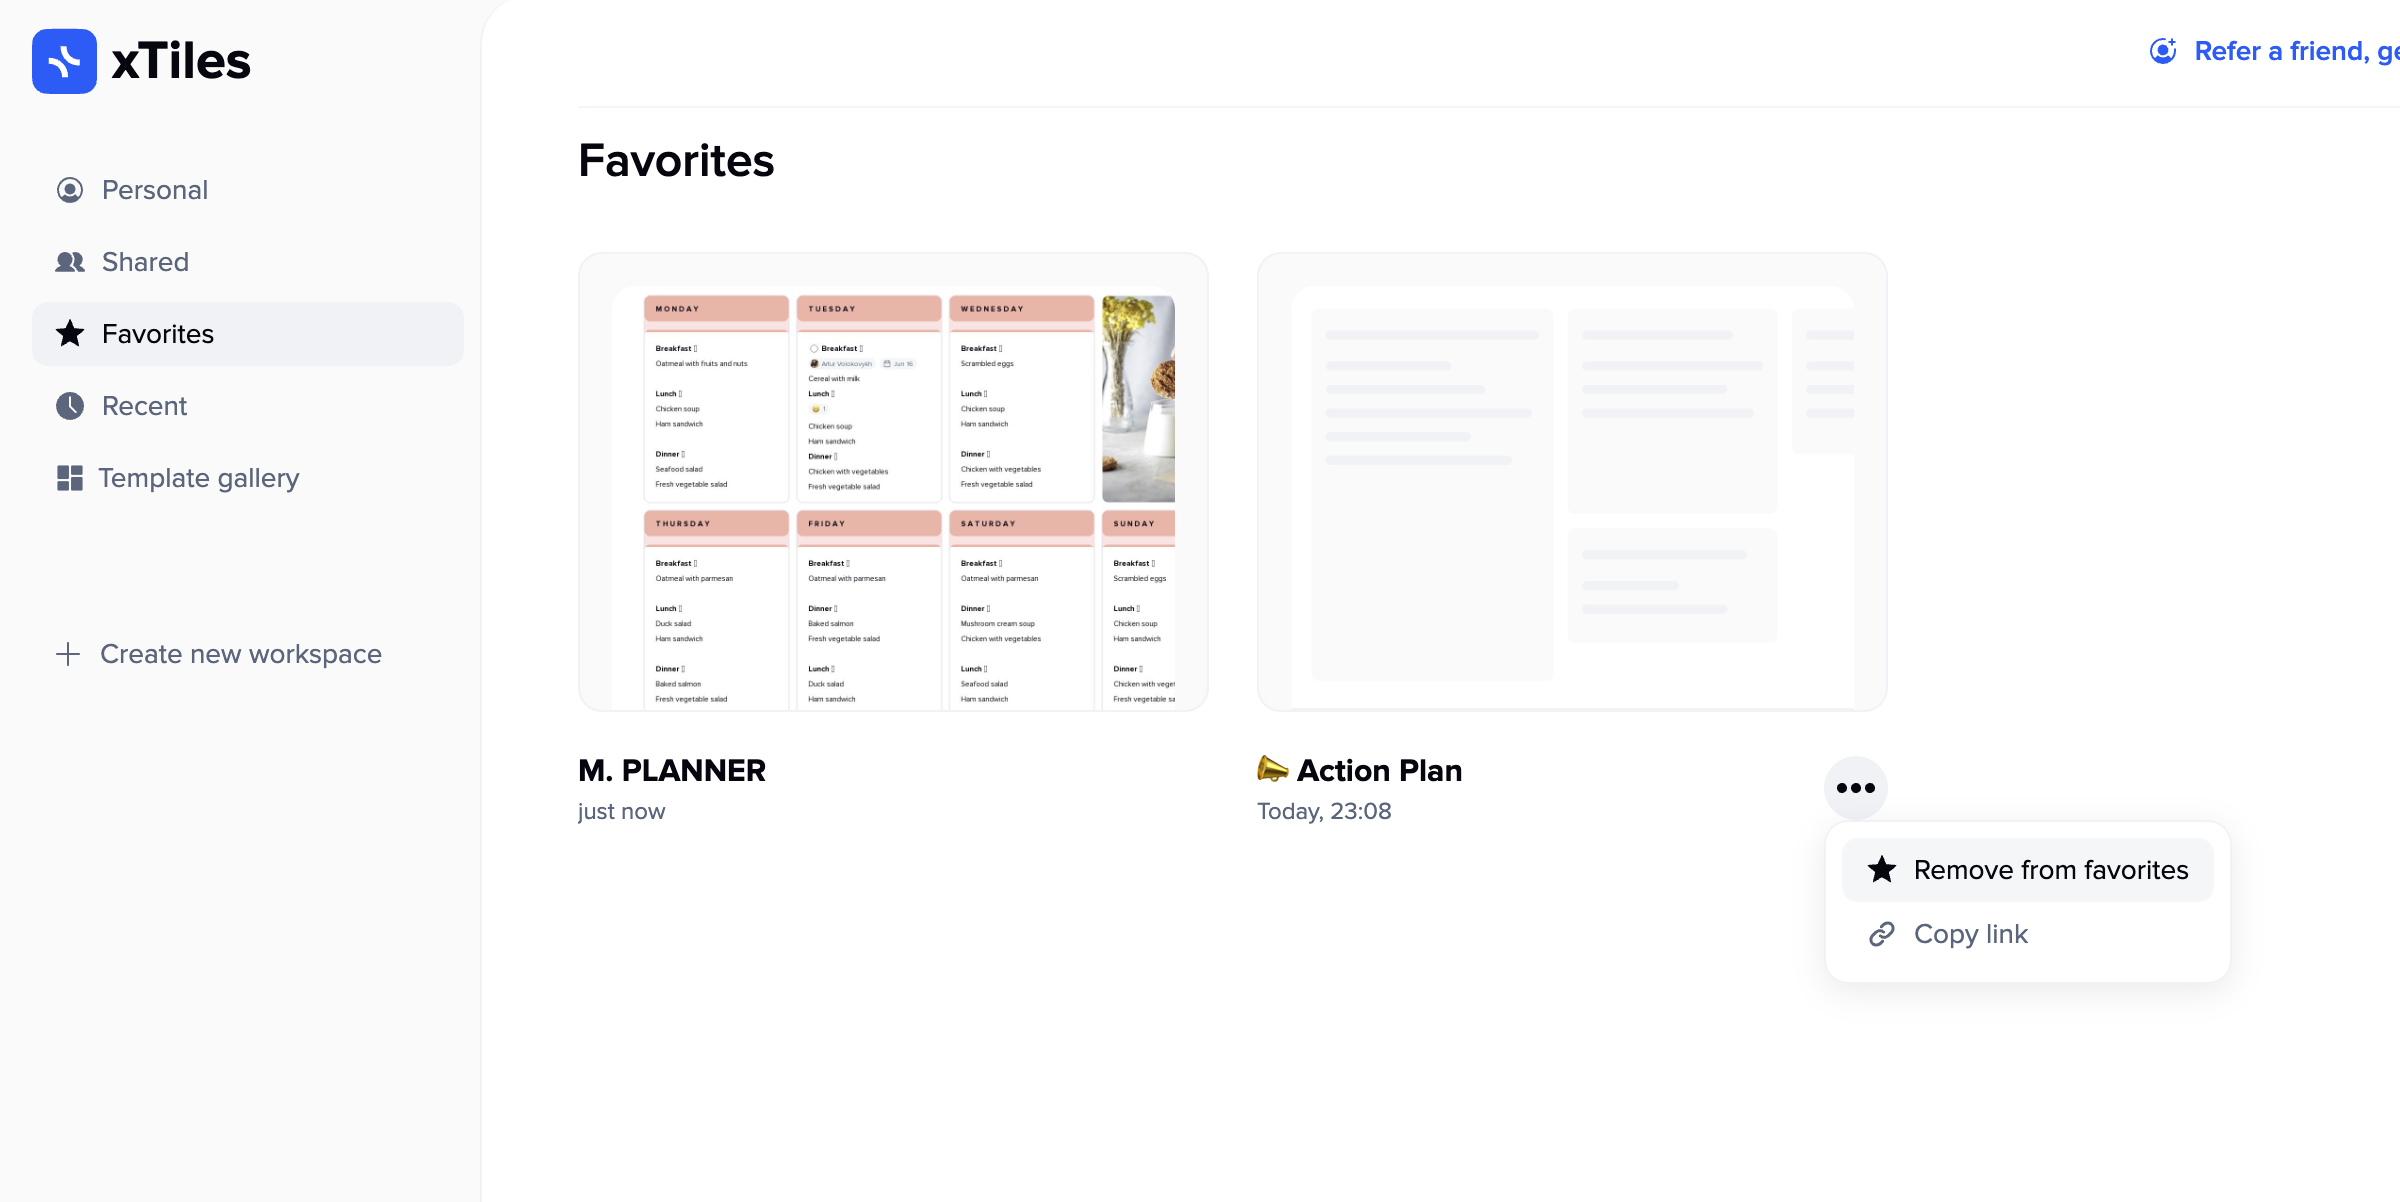
“Favorites” section on the main screen:
Stores all projects that you have marked as favorites, even if you accessed them as a guest.
You can remove a project from favorites at any time using the three-dot menu of the project directly from this section.
This is where all the projects you have marked as favorites are stored, even if you access them as a guest.
You can remove a project from the favorites list at any time using the three-dot menu, accessible directly from the project in this section even if you access them as a guest.
Join our community and stay tuned for product updates
Learn more about our plans and available features, visit the pricing page and choose the best option that fits your workflow.
Stay updated on xTiles product updates with the changelog.
Join the xTiles community on Slack and Discord instead visit the Youtube channel and xTiles blog, and follow us on social media to stay informed about the latest news, updates, and great content!