Template gallery


Filling in the essentials
Your Project is ready

We're preparing Project for you
Enter your email to get
the Project
Enter your email to receive the project link
Filling in the essentials
Wait a second to see
your project
We’ve received your email and are putting the final touches on your project.
You’ll get the link in a moment.
You’ll get the link in a moment.
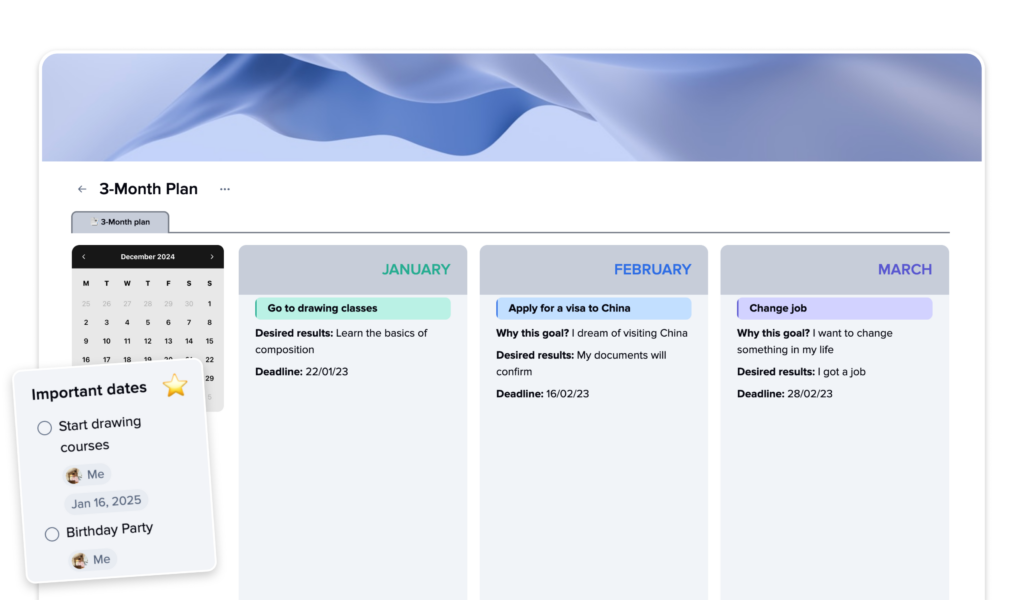
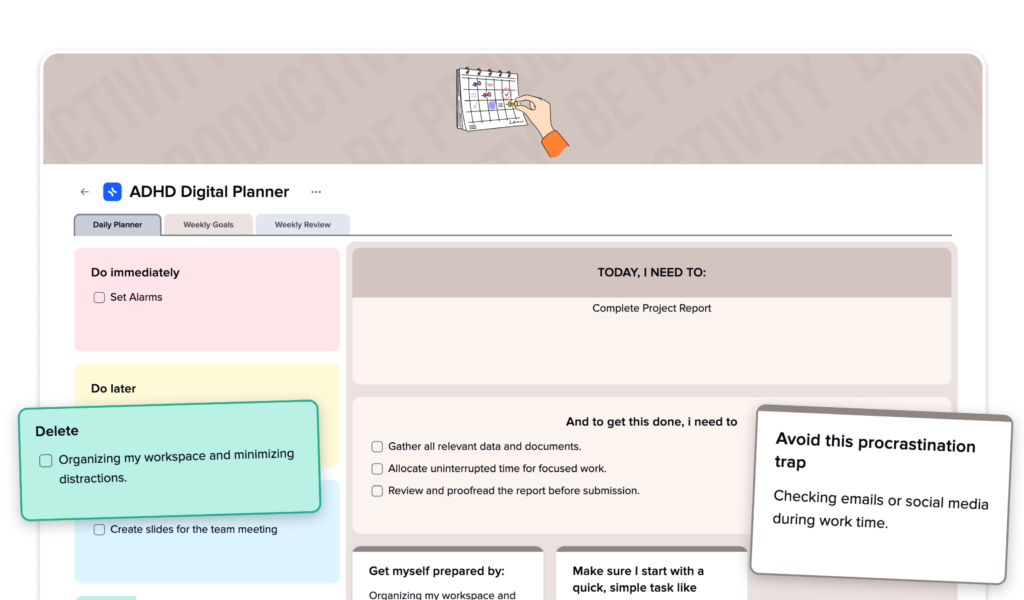
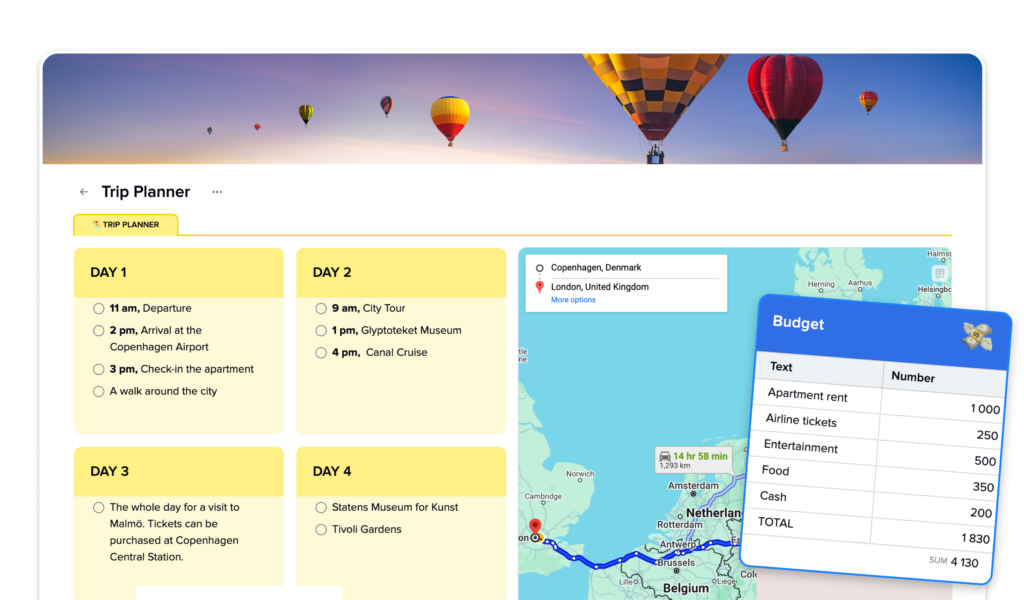
Your project is ready!
You can now open it, share the link, or copy it for later. Let the work begin!
https://xtiles.app/your-project
Copied!